Synchronizing an UltraPortable
The option to synchronize a LearningSpace UltraPortable (UP) is only available once Satellite mode has been enabled.
For guidance on setting up your UltraPortable as a satellite unit, download the UltraPortable System Setup Guide and follow the process described starting from page 19, under 6.0.
![]() Video about the process:
Video about the process:
For configuring the LearningSpace main server, we highly recommend using hostname over IP address.
Resetting the satellite unit will result in a complete data loss on your unit. Data already synced to the main server will not be affected.
For logging in, use the default email address and password, provided in the UP System Setup Guide (page 17, under 5.2).
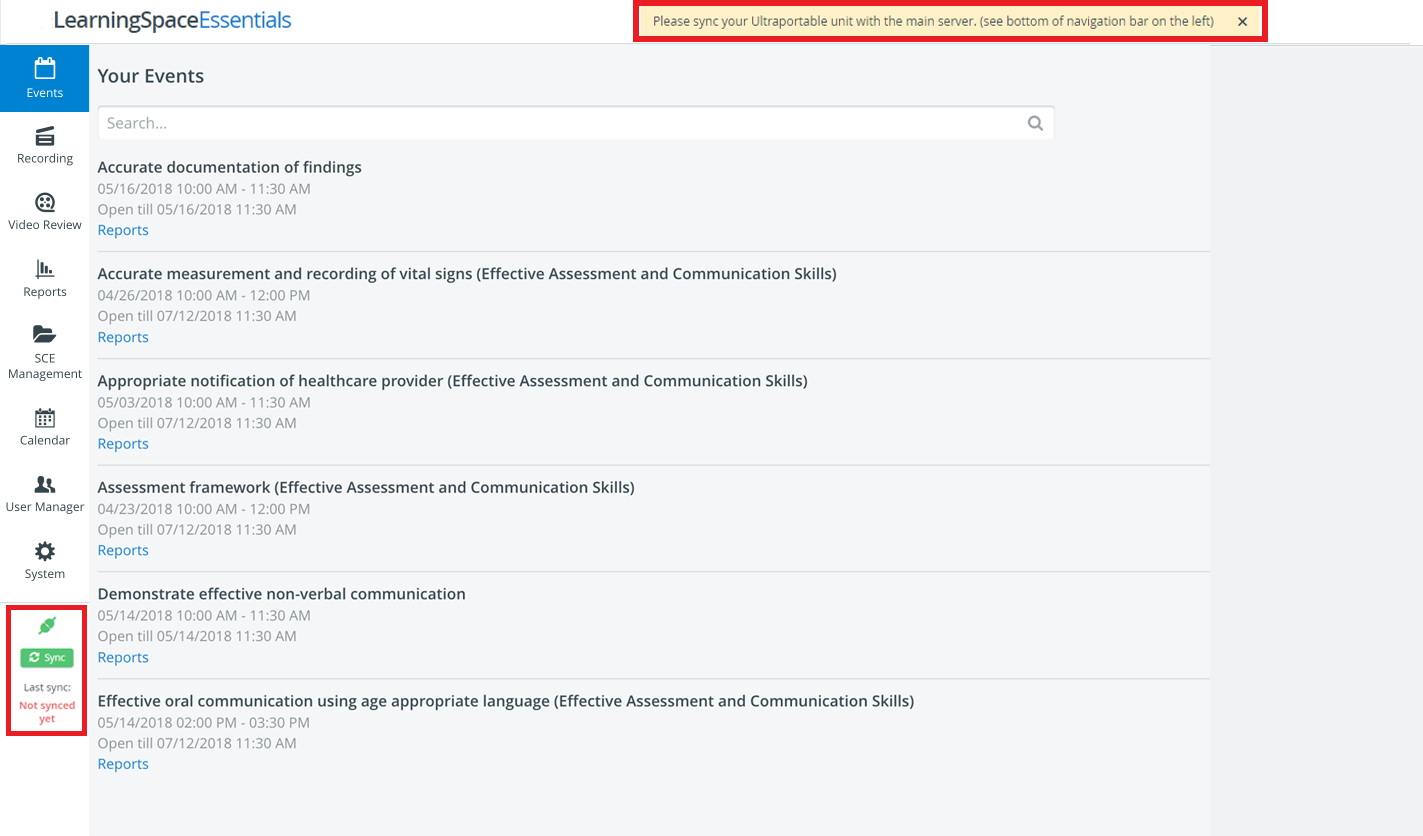
IMPORTANT: Once you are directed to the system dashboard, it is highly recommended that you synchronize your satellite unit with the main server.
Otherwise, you cannot log in to the system on the satellite unit with your users stored on the main server.
The Sync button will turn green once the UP is in Satellite mode and has successfully paired with the LearningSpace main server.
A warning message and the "Not synced" status will be presented under Last Sync as long as the first synchronization has not been performed.
A warning message is also displayed if changing to Satellite mode is successful, but the connection to the main server is insufficient.
(Sync button is greyed out / connection disrupted)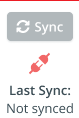
Click the Sync button to initiate the synchronizing process.
The "Validating product version" message appears when the system verifies the product version level of the UP and the LearningSpace system, respectively:
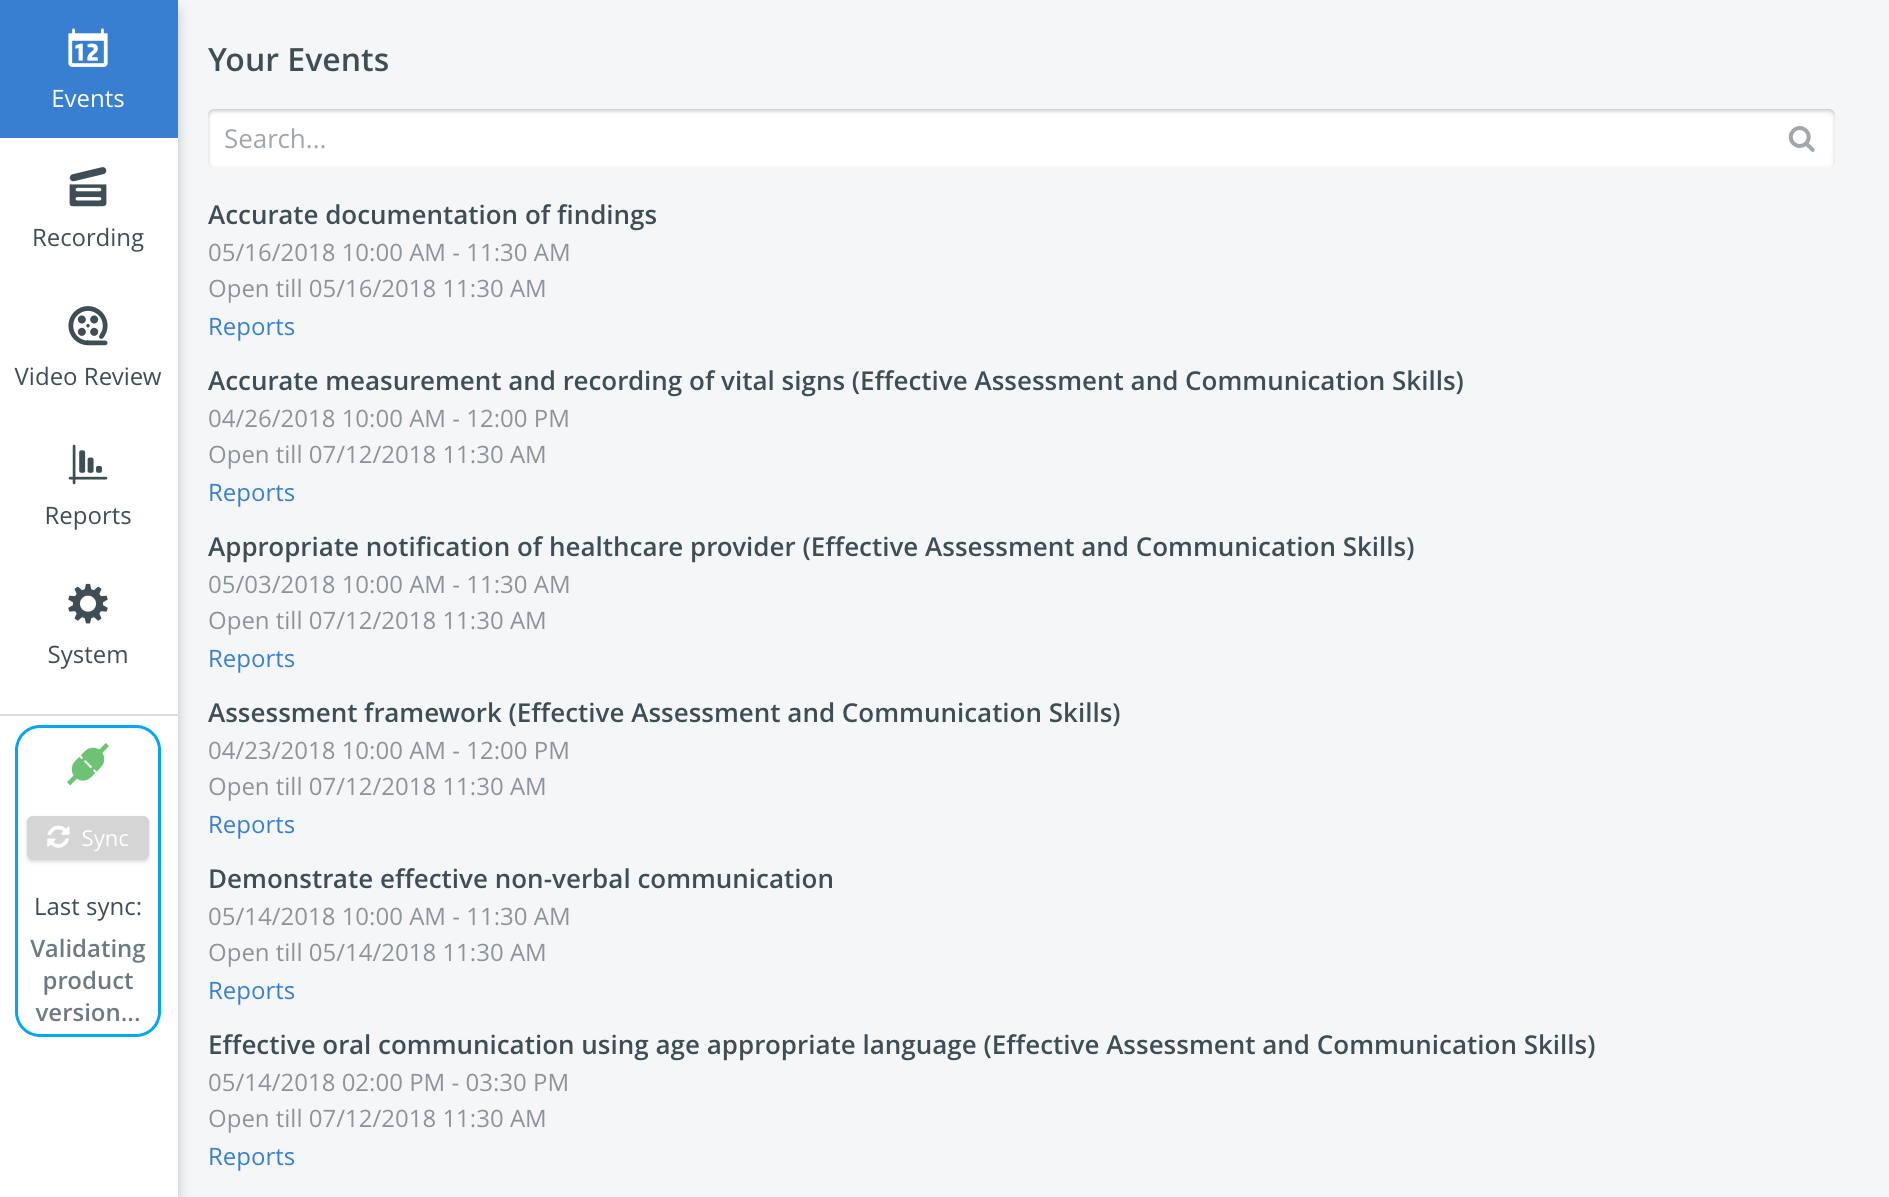
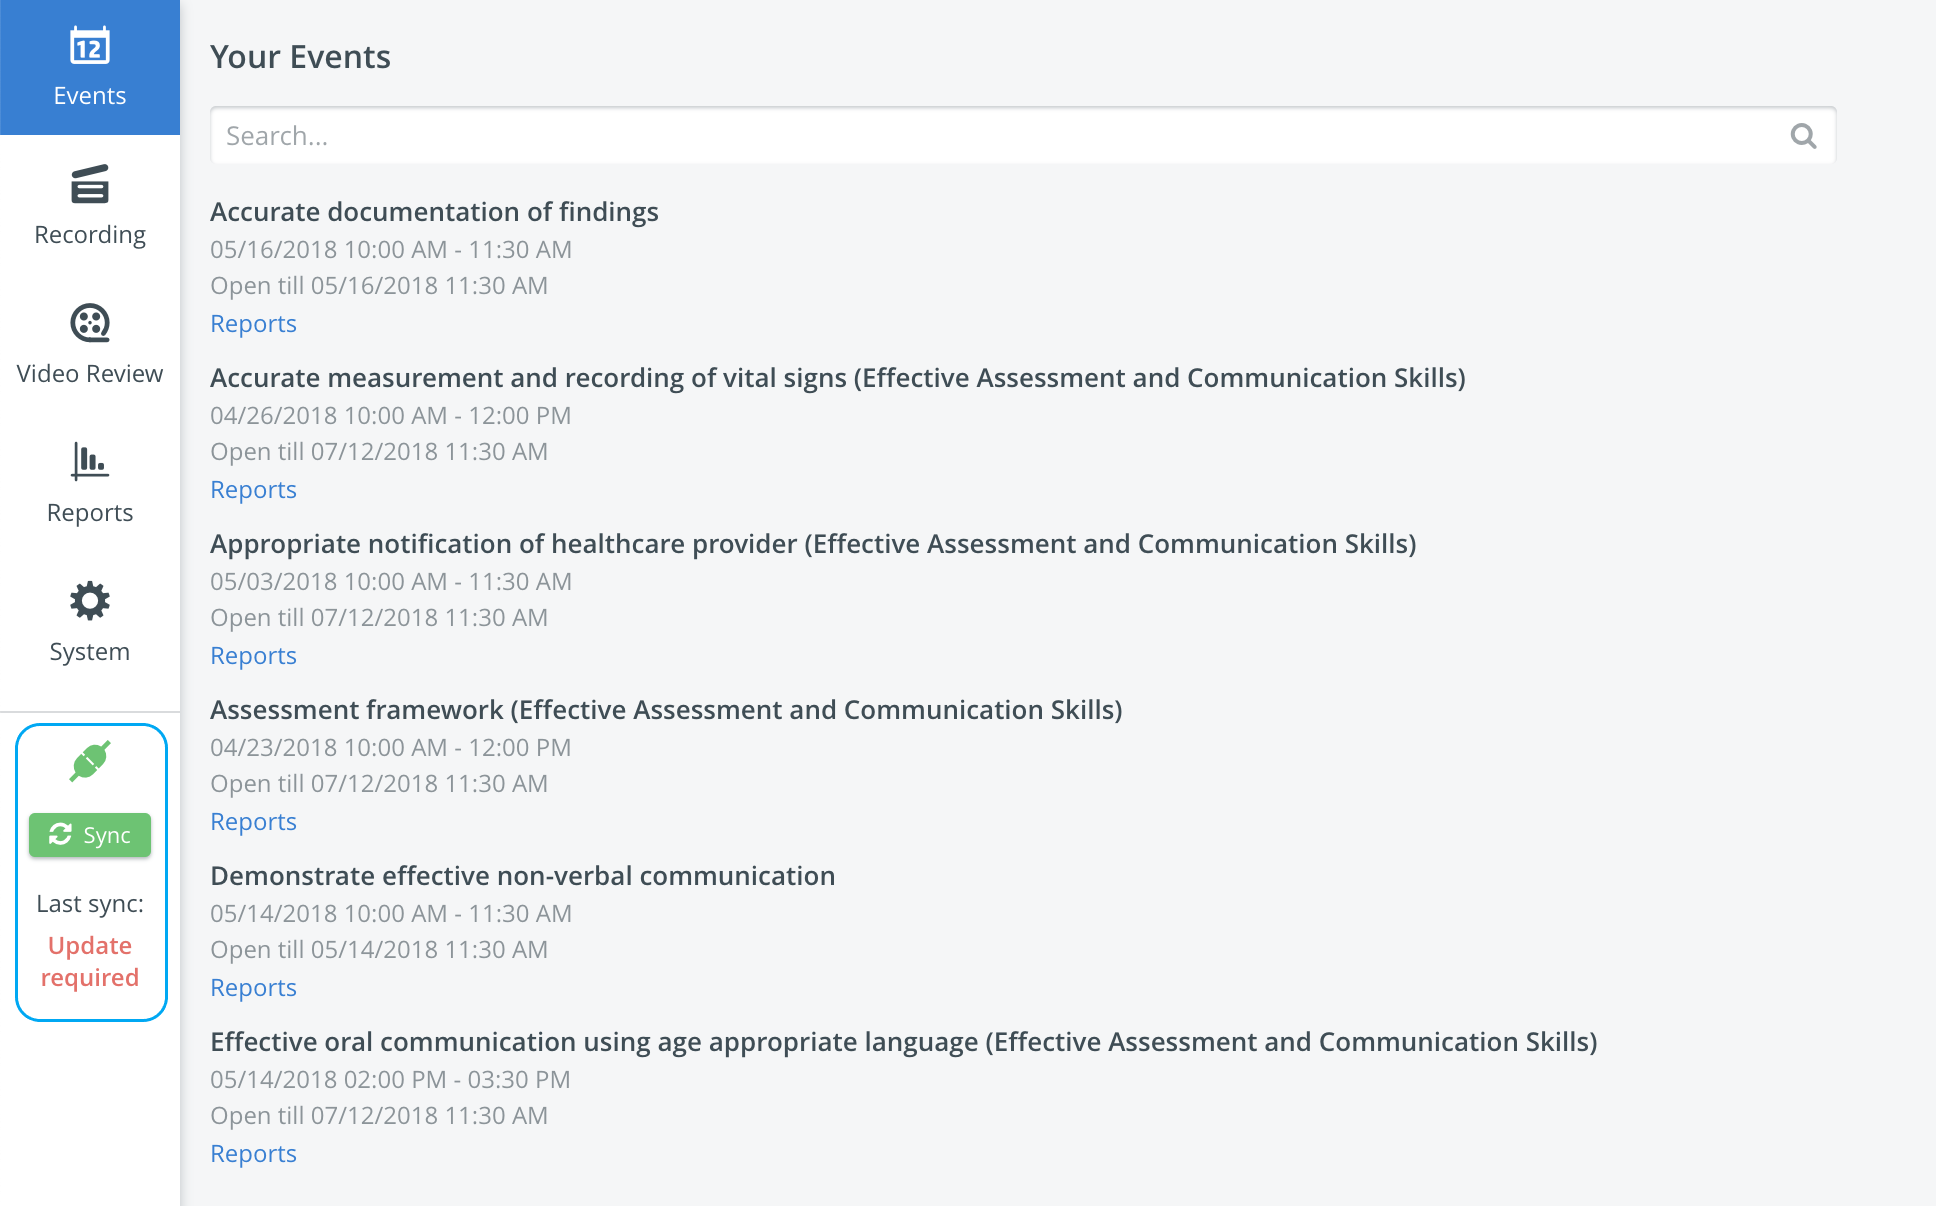
If the product version ("patch-level") of the UltraPortable and the LearningSpace system do not match, the system warns you at this point about the necessity of an update.
The "Update Required" warning will be visible. If this happens, please contact your System Administrator or IT department for further assistance.
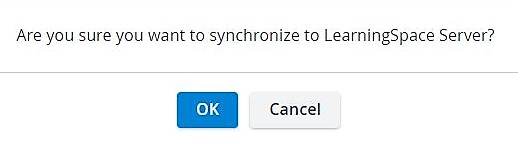
If no update is required, a pop-up window will ask for confirmation to continue synchronization.
Click OK to continue or Cancel to interrupt the process.
After clicking OK, the process starts, and a pop-up window shows the synchronization status. During the process, successfully completed steps are presented with a green checkmark.

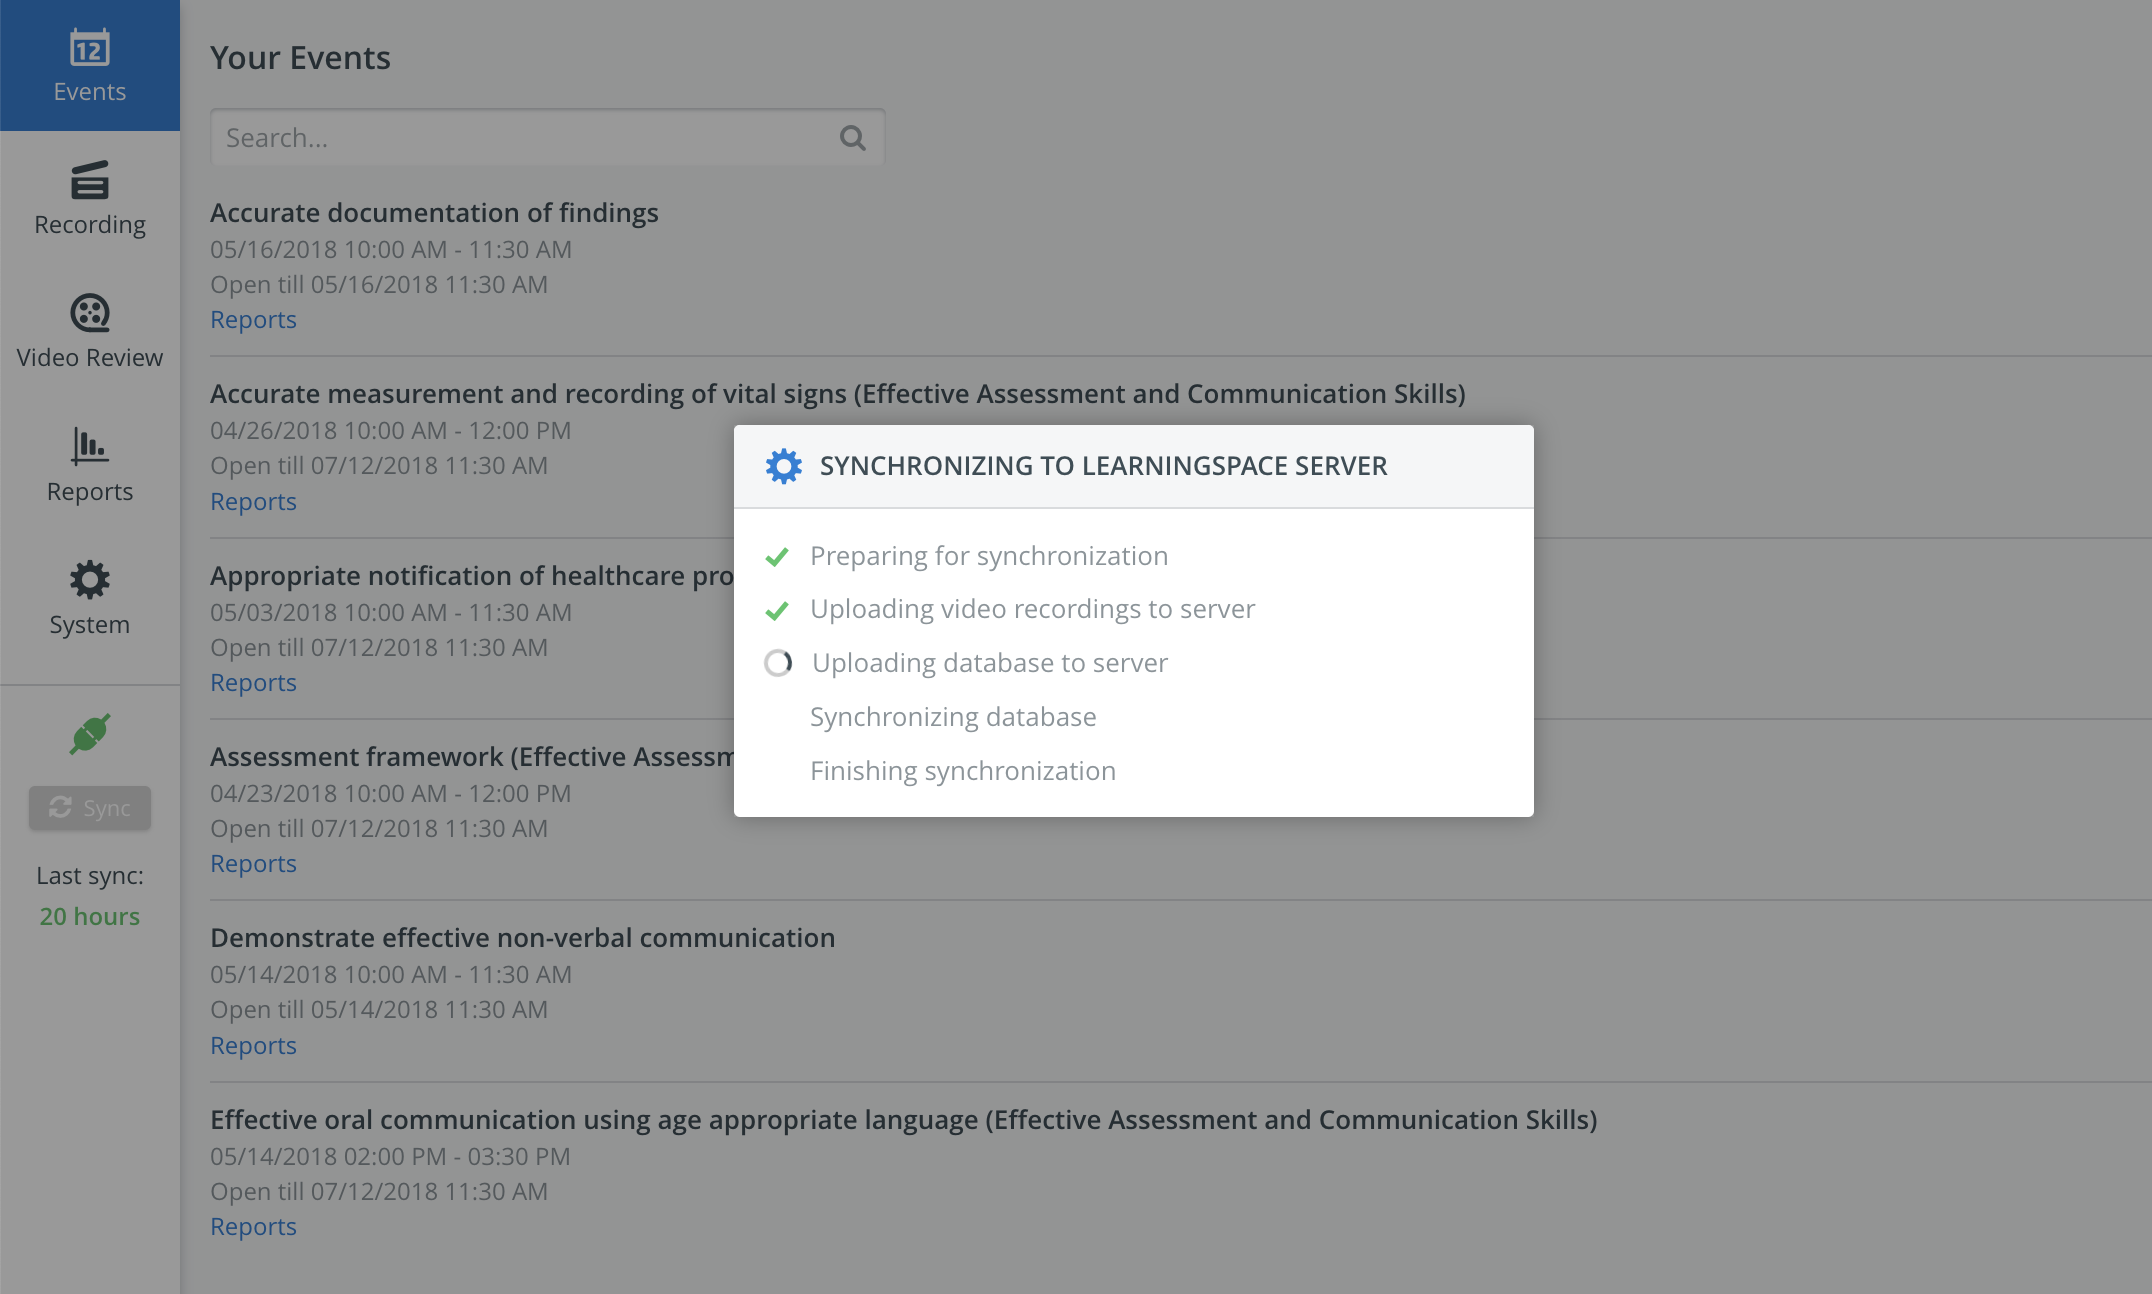
The process may take several minutes—do not close the browser window until the last green checkmark, along with the Close button, is displayed.
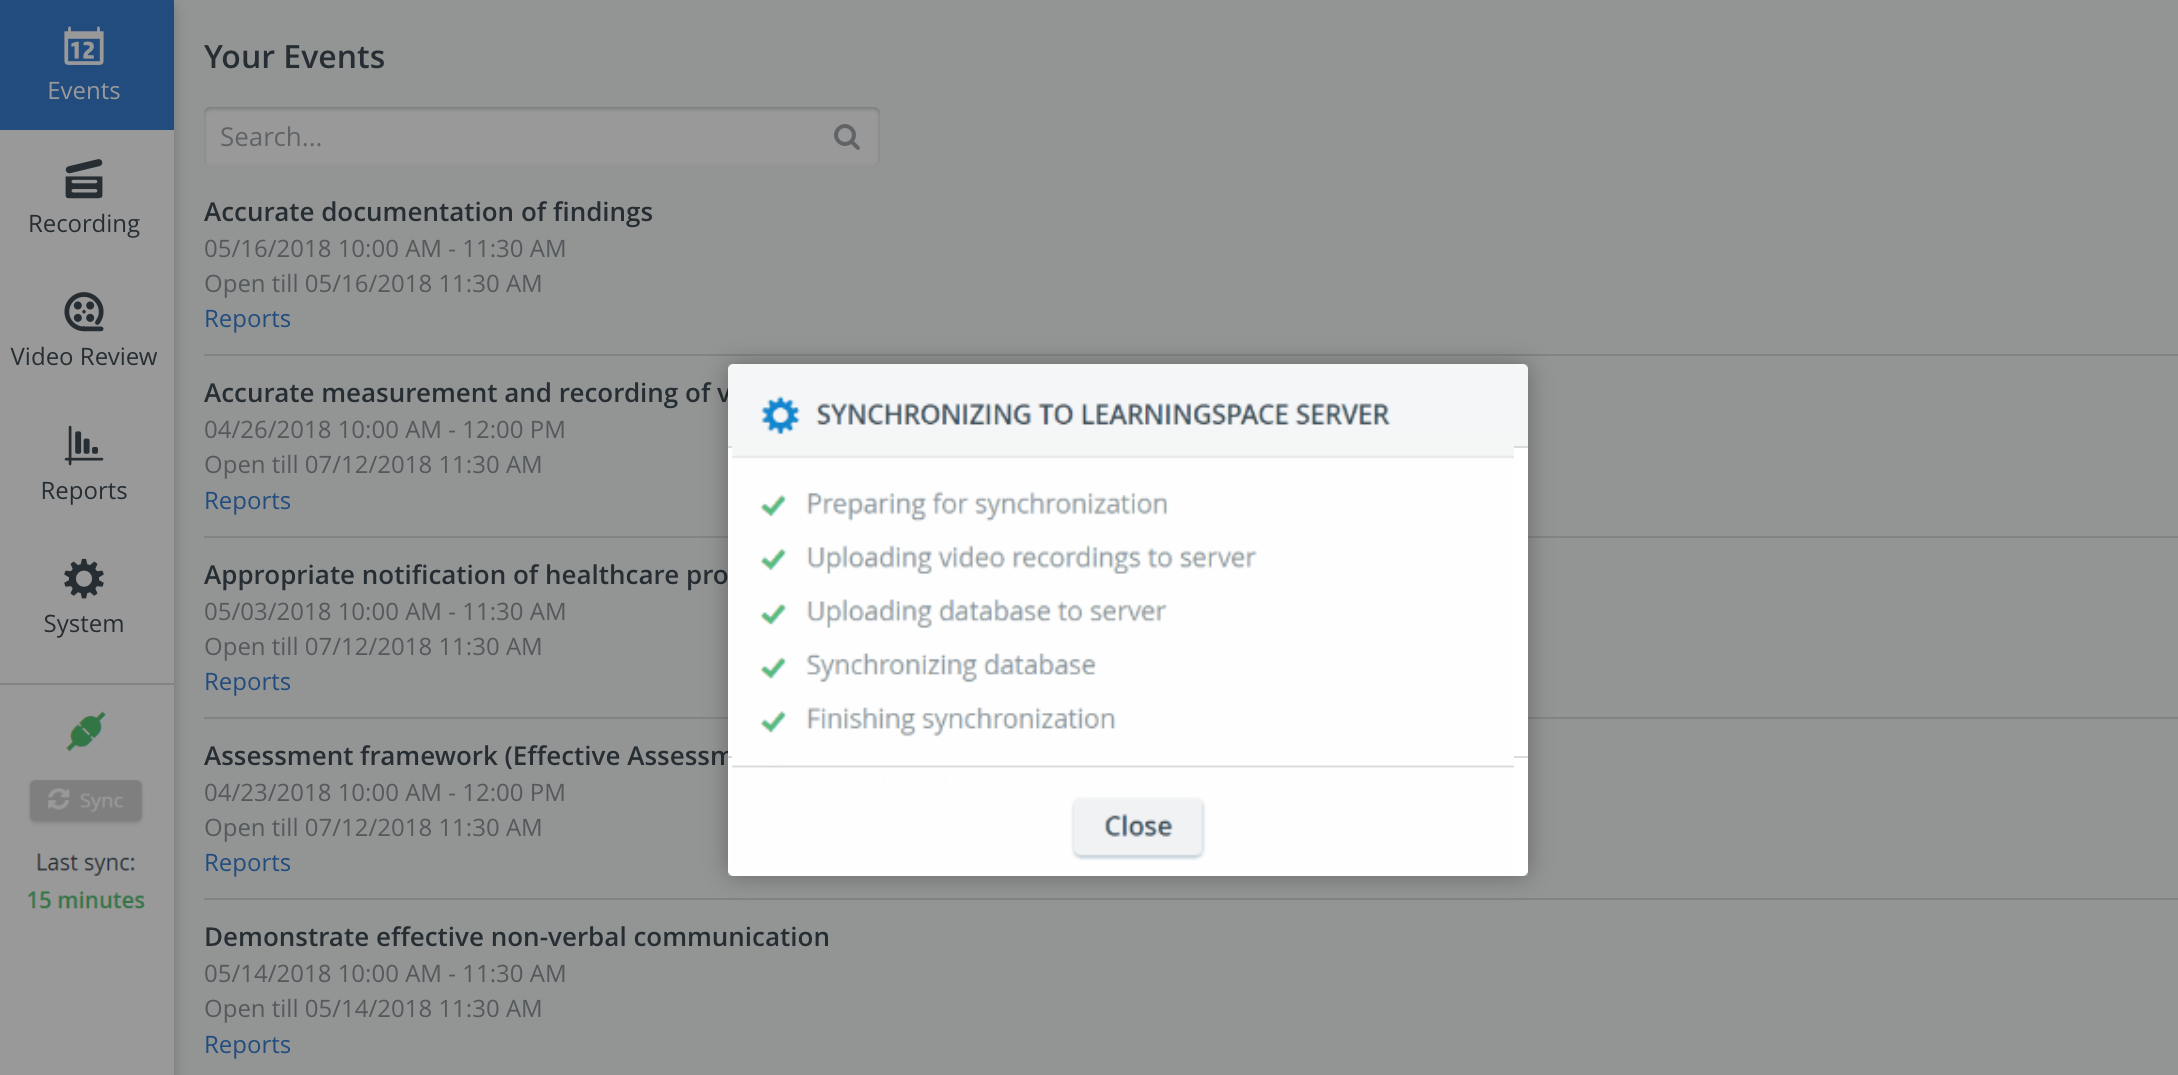
Once the synchronization has been completed, the pop-up can be closed with the Close button.
After successful synchronization, the Last sync time gets updated and will show when synchronization was last performed.

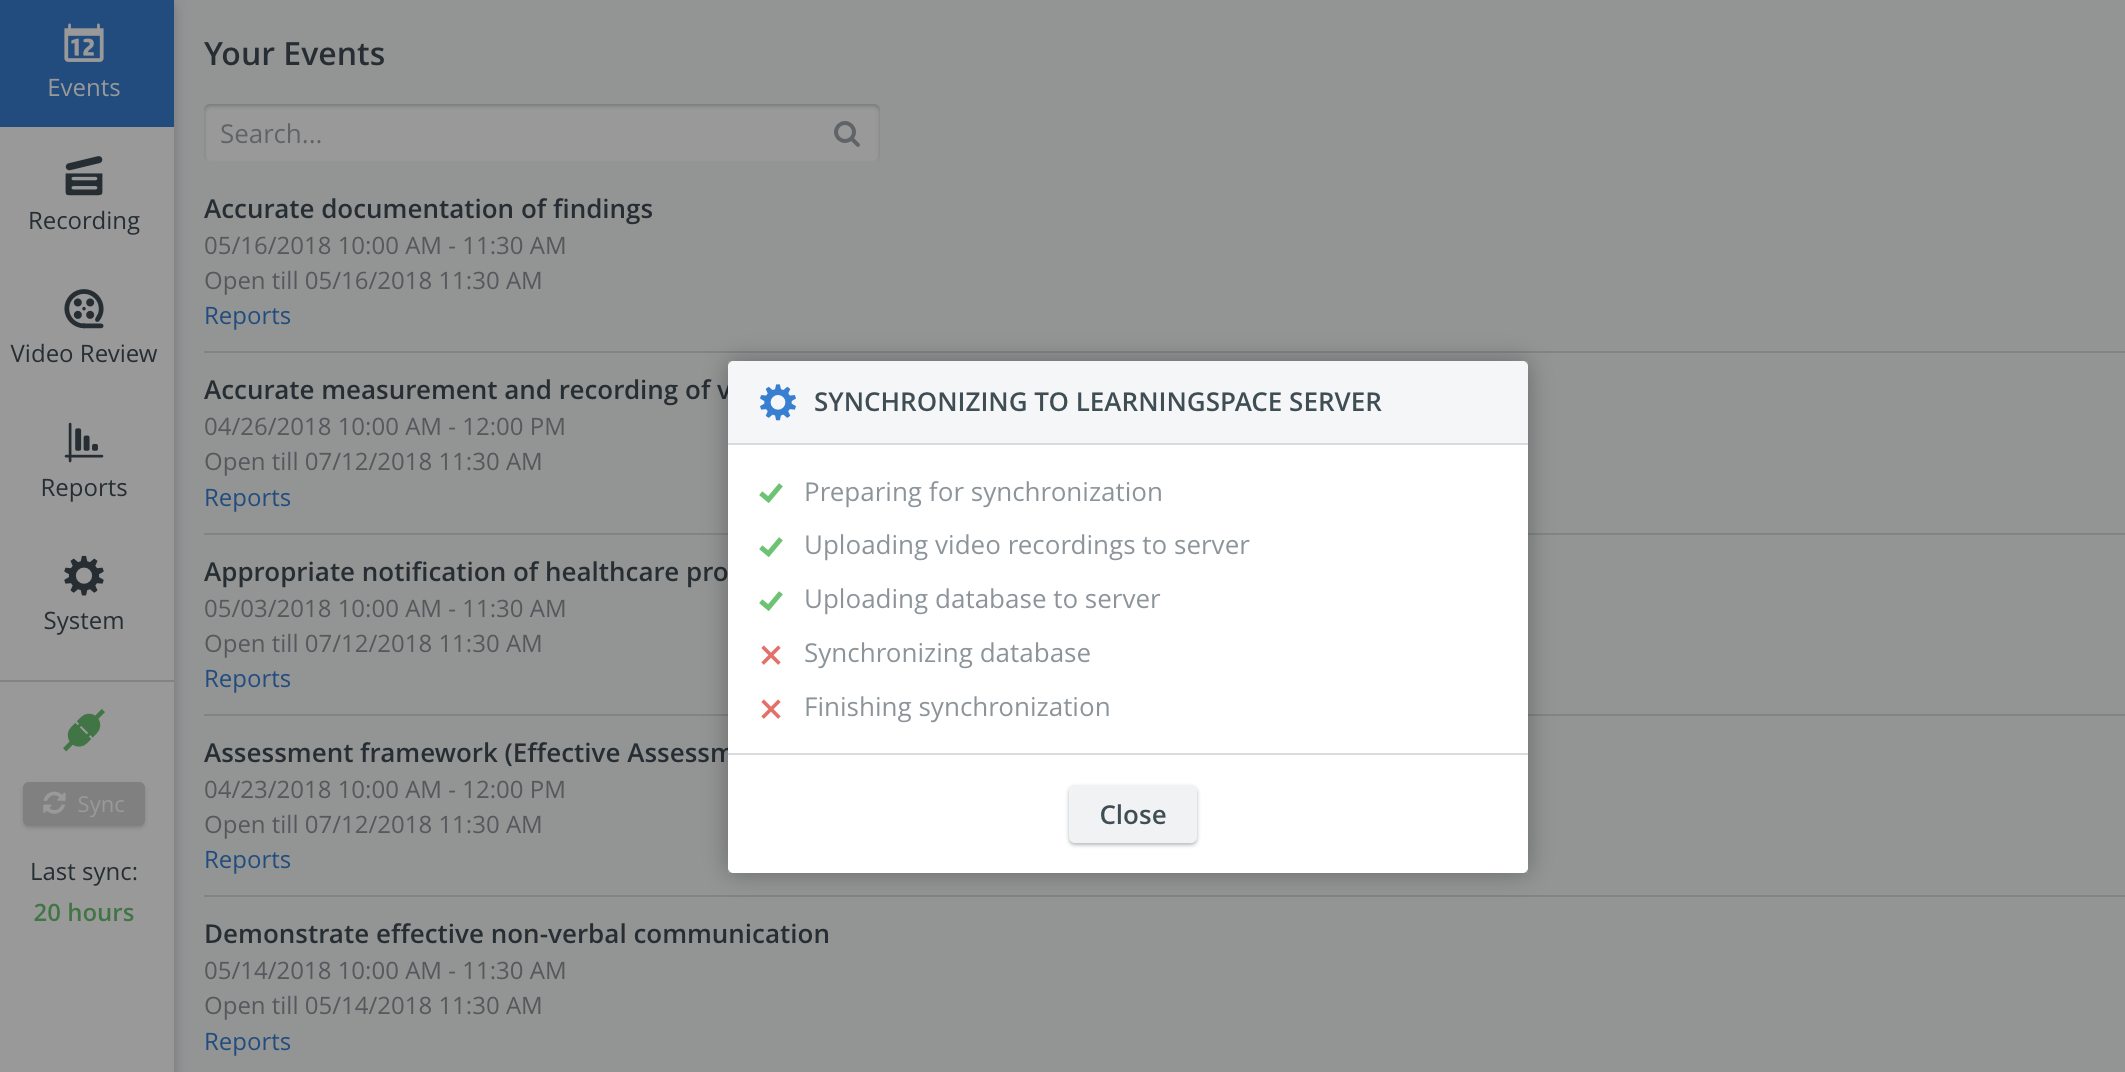
The Last sync information will be available on the login page as well: In case of a failed synchronization, ❌ signs show the failed steps. In such cases, the complete process will be unsuccessful and thus needs to be repeated.
As a result of the synchronization process, video recordings recorded on the UP will removed from the UP and moved to the main server (NOT COPIED!).
Also, the UP database will be exported (copied) to the main server, and the main server database (Events, Users, etc.) will be imported (copied) to the UP in return.See a video about the syncing process:
The above process can be initiated every time synchronization is needed.
NOTE: The activation of Satellite mode has to be performed only once (not at each synchronization).