Room View during Video Review
Video recordings can be reviewed with respect to rooms.
The Single Room View on the Video Review page has the exact same screen setup as the SRV of the Recording module, with the following differences:
no Intercom and Simulator widgets is available
no camera control options (PTZ, etc.) are available
Information panel is added: the panel displays the date and time of the start of the recording, as well as the length of it. By clicking on the More Details link, Simulation details can be viewed (Learners, Simulated Patient, Facilitator & Faculty, Activity, SCE). The panel can be minimized for more space on the focused content.

In Video Review, all media associated with the Simulation can be viewed in the Send to Screen panel.

![]() Audio setting: The audio of a particular camera can be turned on or off by clicking the audio icon in the top right corner of the camera panel.
Audio setting: The audio of a particular camera can be turned on or off by clicking the audio icon in the top right corner of the camera panel.
Only one camera in a room can have its audio turned on at a time.
The recommended video size (aspect ratio) is 16:9 (e.g. 1280x720).
The sizing of camera streams might not be optimal with a 4:3 video size (an additional black bar/stripe might be visible at the upper and lower edges of the screen). See details here.
How to Play a Recording
Click anywhere on a row from the Video Review list to play a recording.
The recording opens and plays automatically. Click the Pause button to pause the video.
 Click the Play button to resume play.
 Click the Stop button to stop the video.
The panel in the screen's bottom left corner indicates the proceeding time and includes the Pause, Stop, and Play controls.
Timeline: In video review mode, a timeline is displayed below the camera panel(s). All added annotations are marked with a flag on the timeline at the time of the addition.
Particular points of the recording can be accessed by dragging the progress indicator to the desired point or clicking a particular point of the timeline once.
Send to Screen
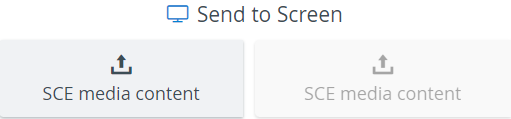
Media files uploaded to SCEs can be previewed by using the SCE media content option under the Send to Screen field, but images cannot be sent to the decoder from here.


Media content preview

Remove media content
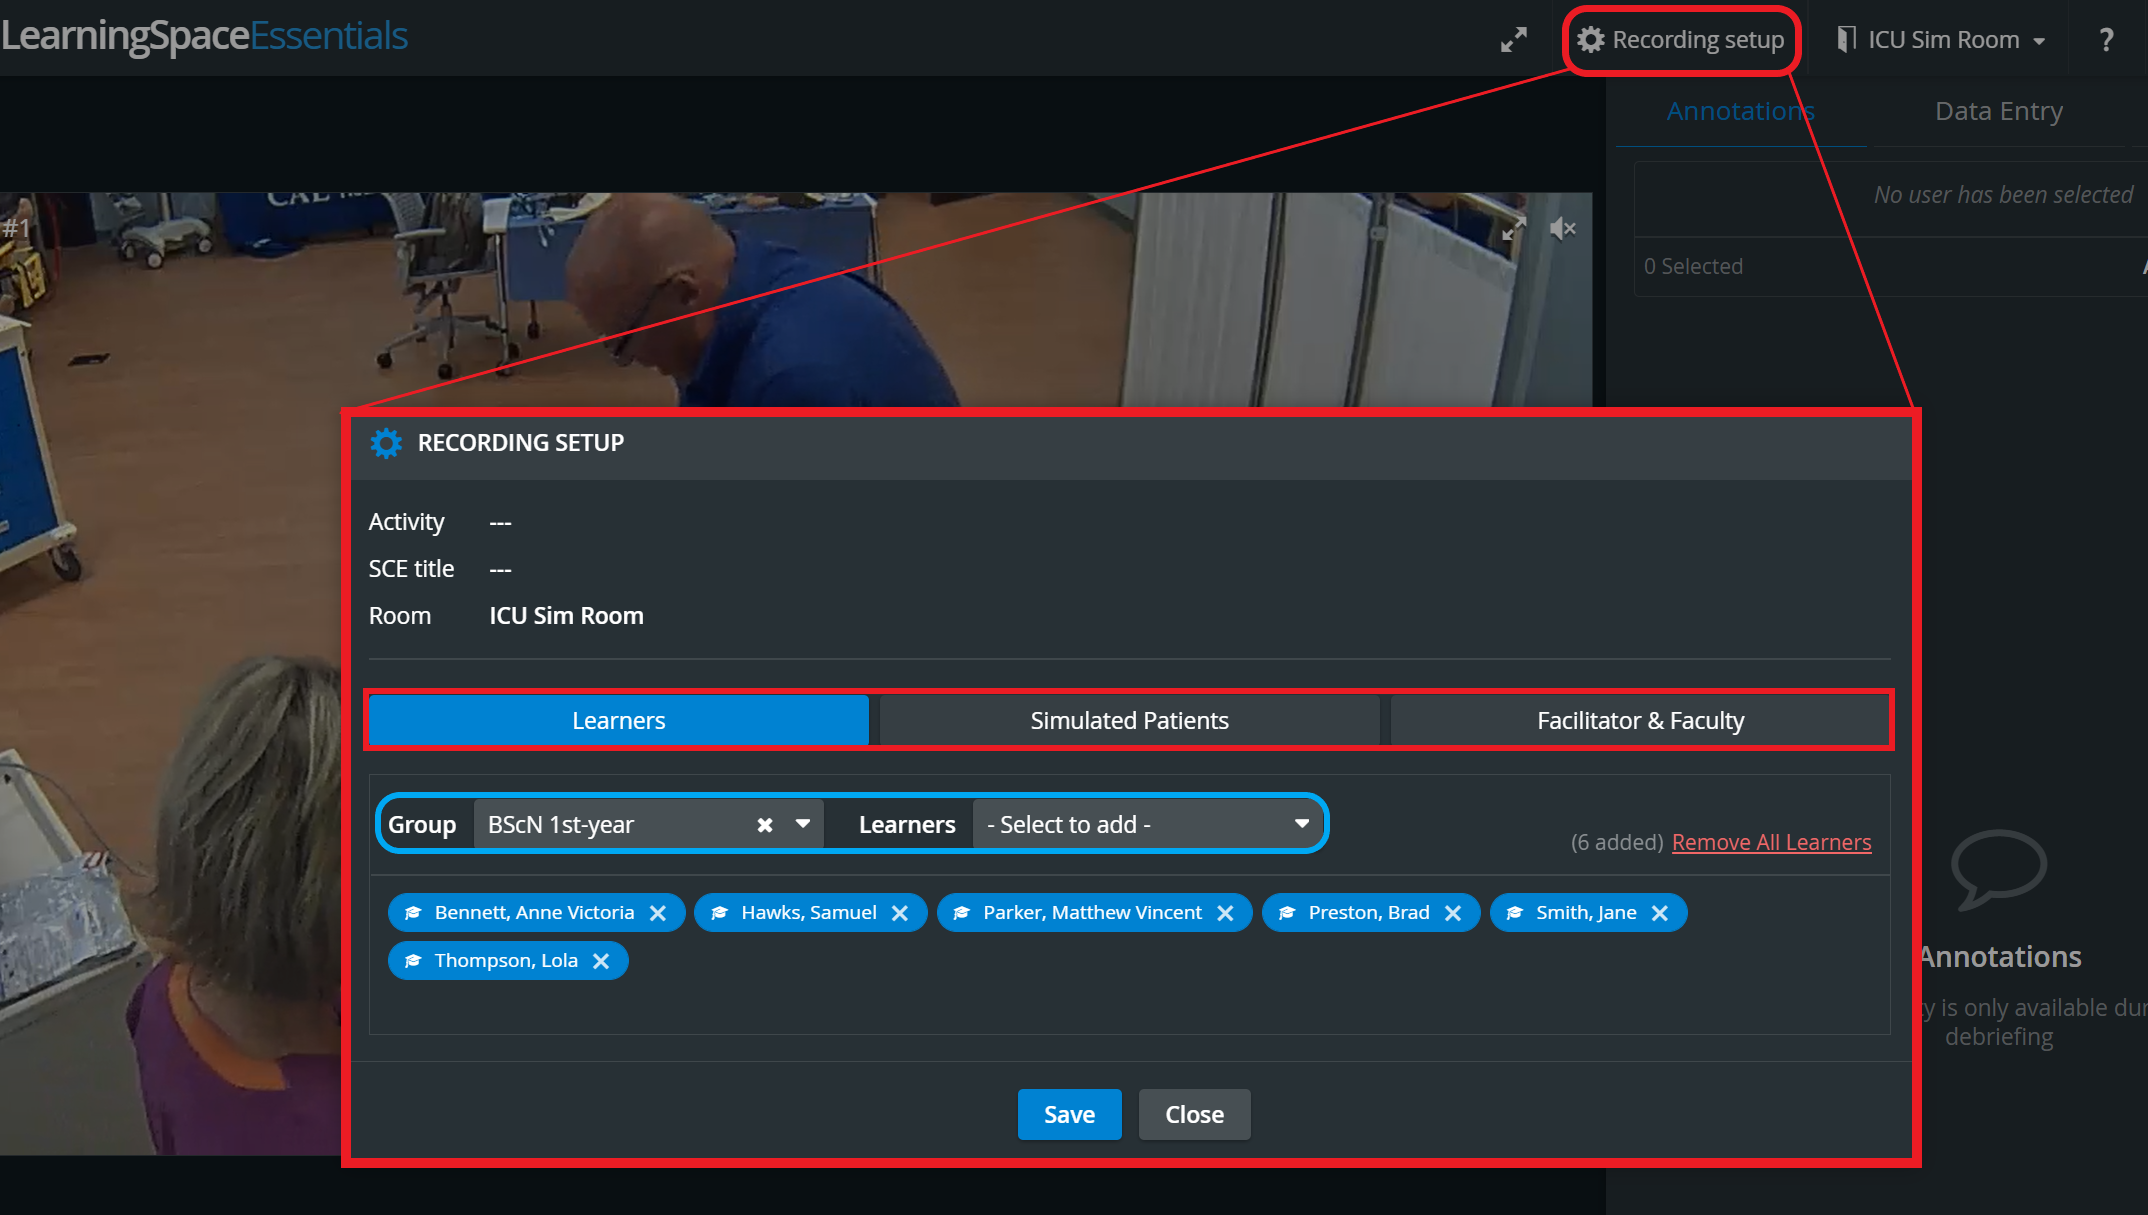
Recording Setup
The Recording Setup feature is used for assigning users to a recording.
You can find more details at Recording Setup in Video Review and Can I modify information about or add new data to a saved recording?
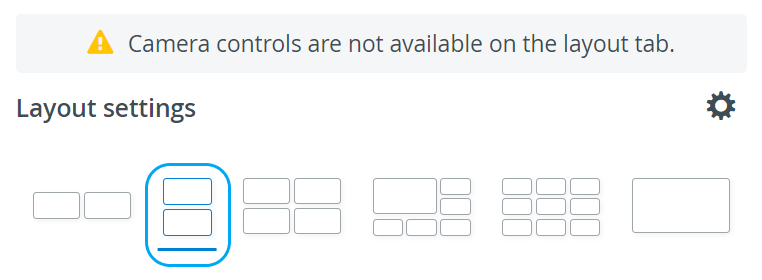
Vertical double layout
In the latest versions of LearningSpace, the utilization of the space available in the Single Room View panels can be maximized, and the panels on the right side (Annotations tab, Data Entry tab, etc.) or additional windows can be displayed in a larger size with the help of the Vertical double layout feature:

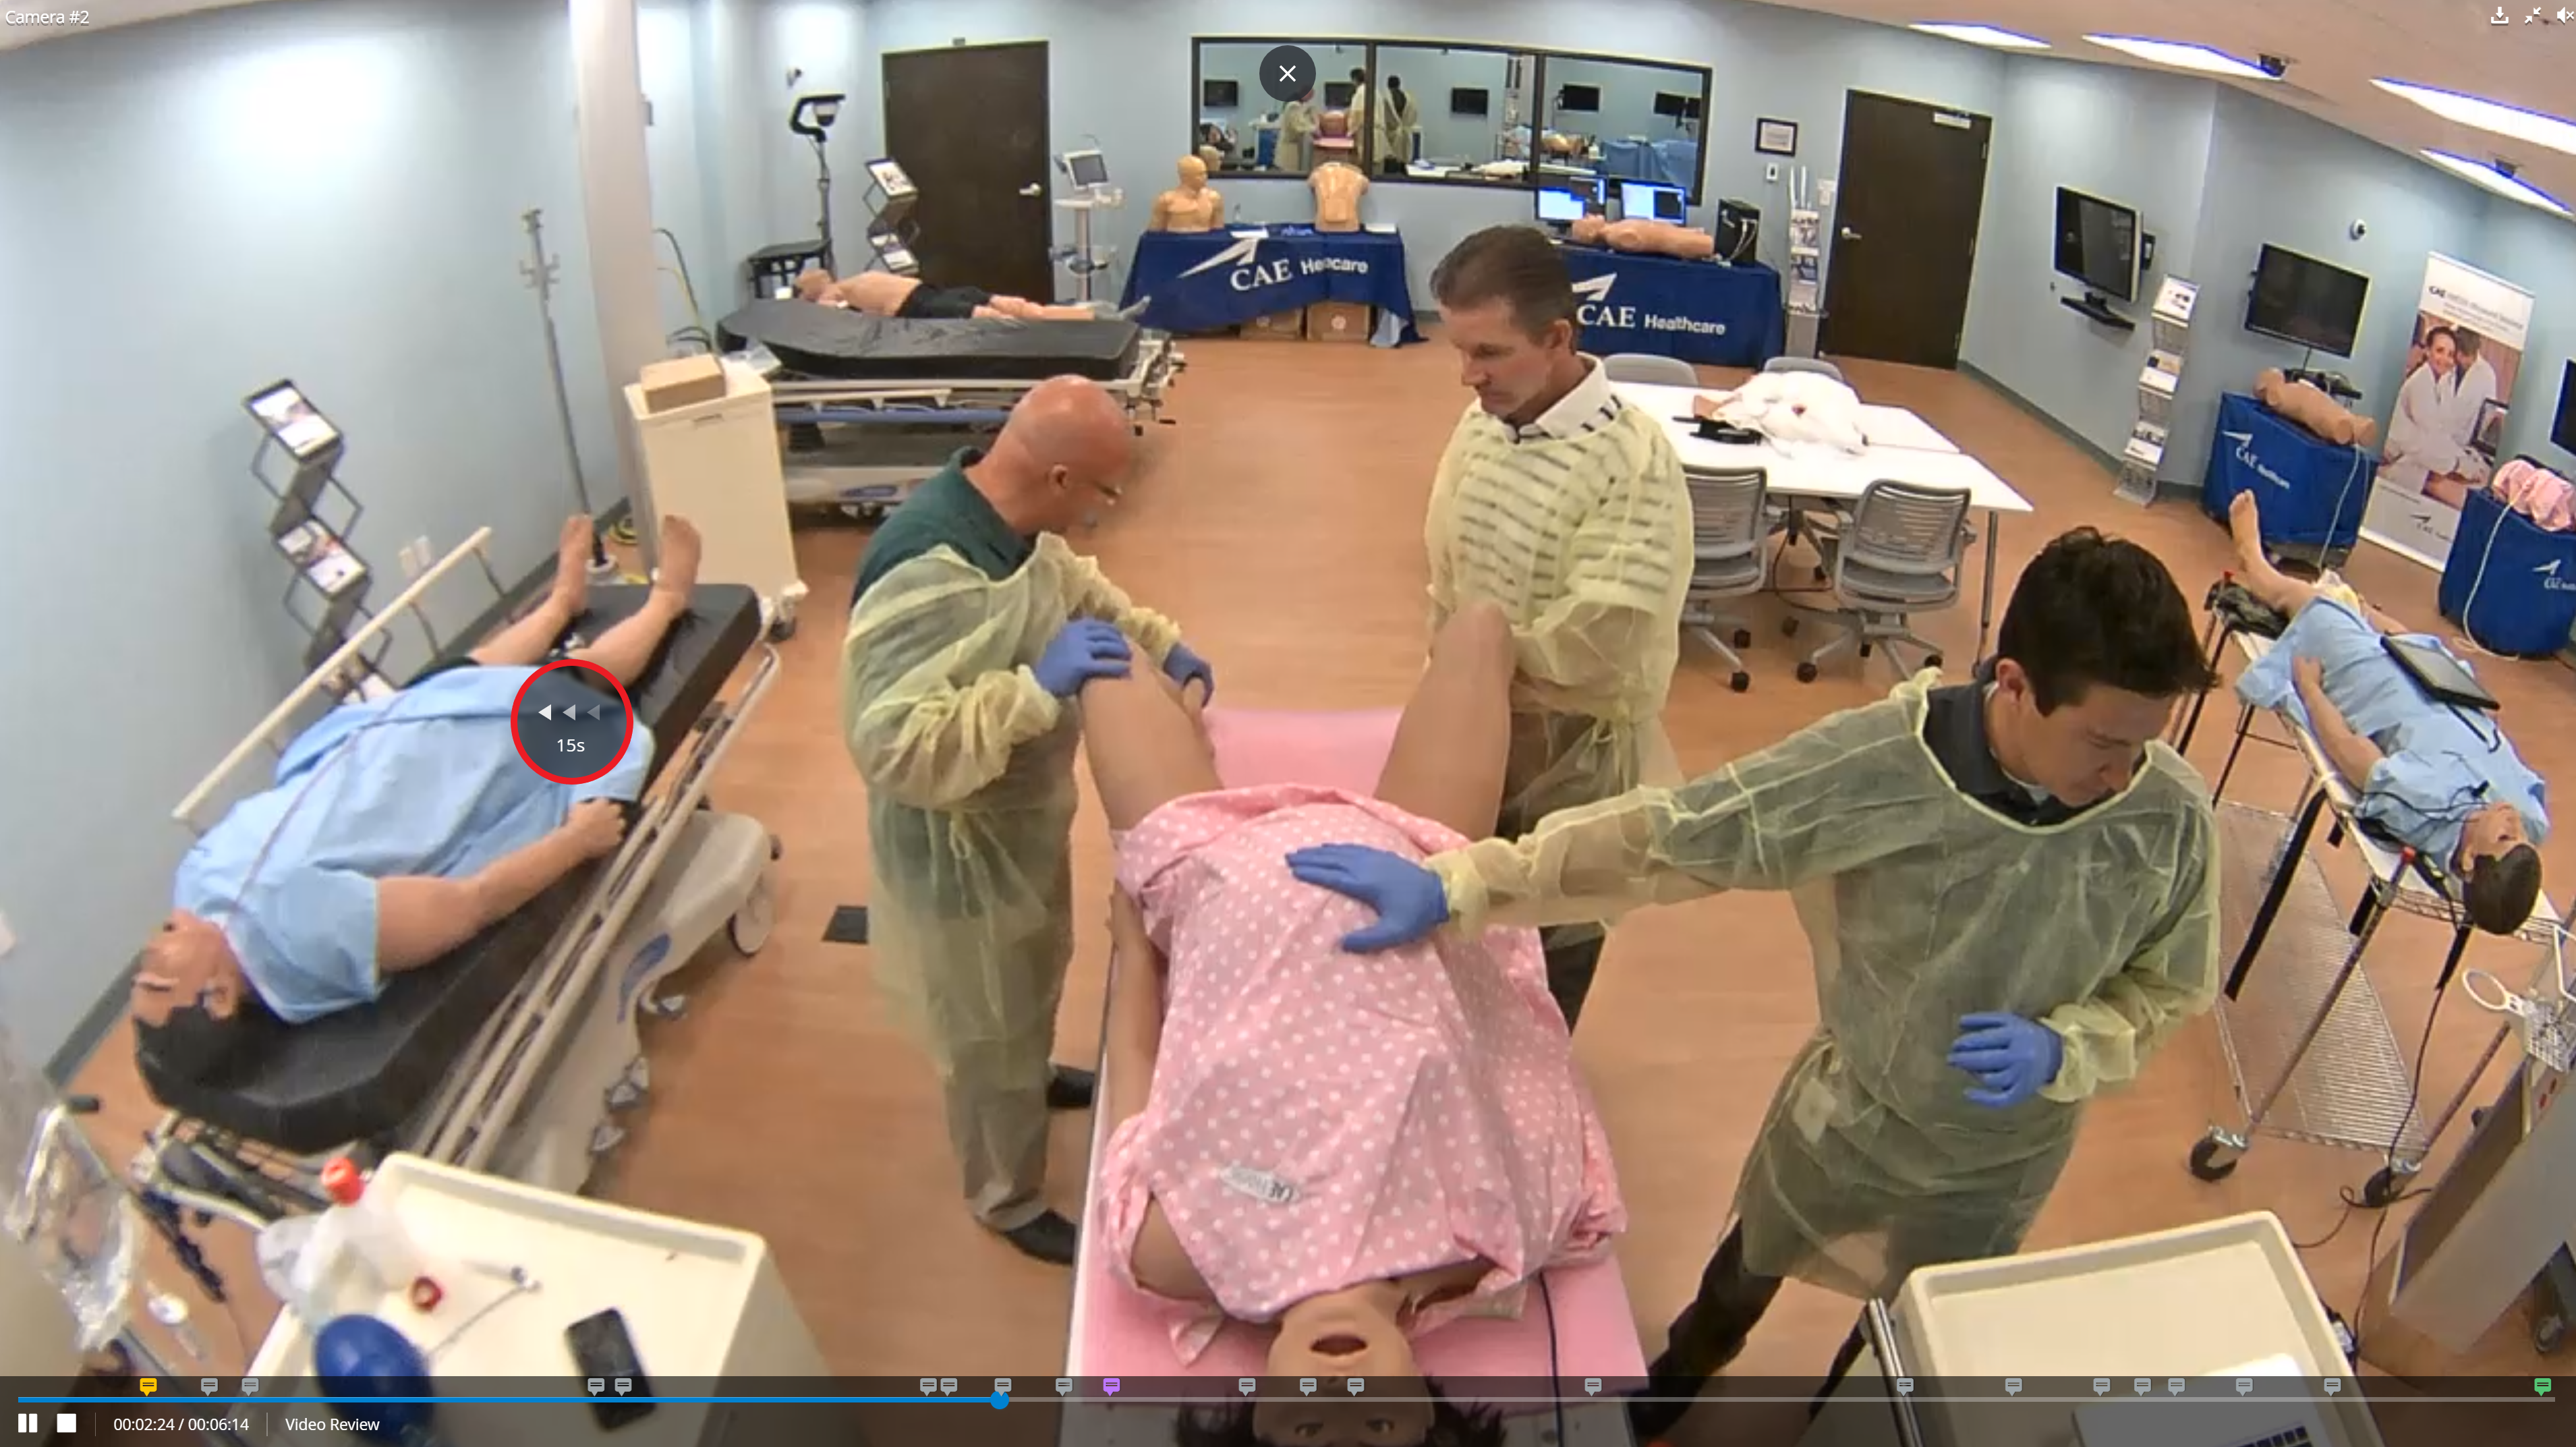
Jump Forward/Backward Hotkey
Users of LearningSpace can easily jump forward or backward in any video recording (in Video Review), by simply using the right or left arrows on their keyboard. By pressing the respective key, the video will jump 15 seconds forward or backward, respectively.

Video Playback Speed Controls
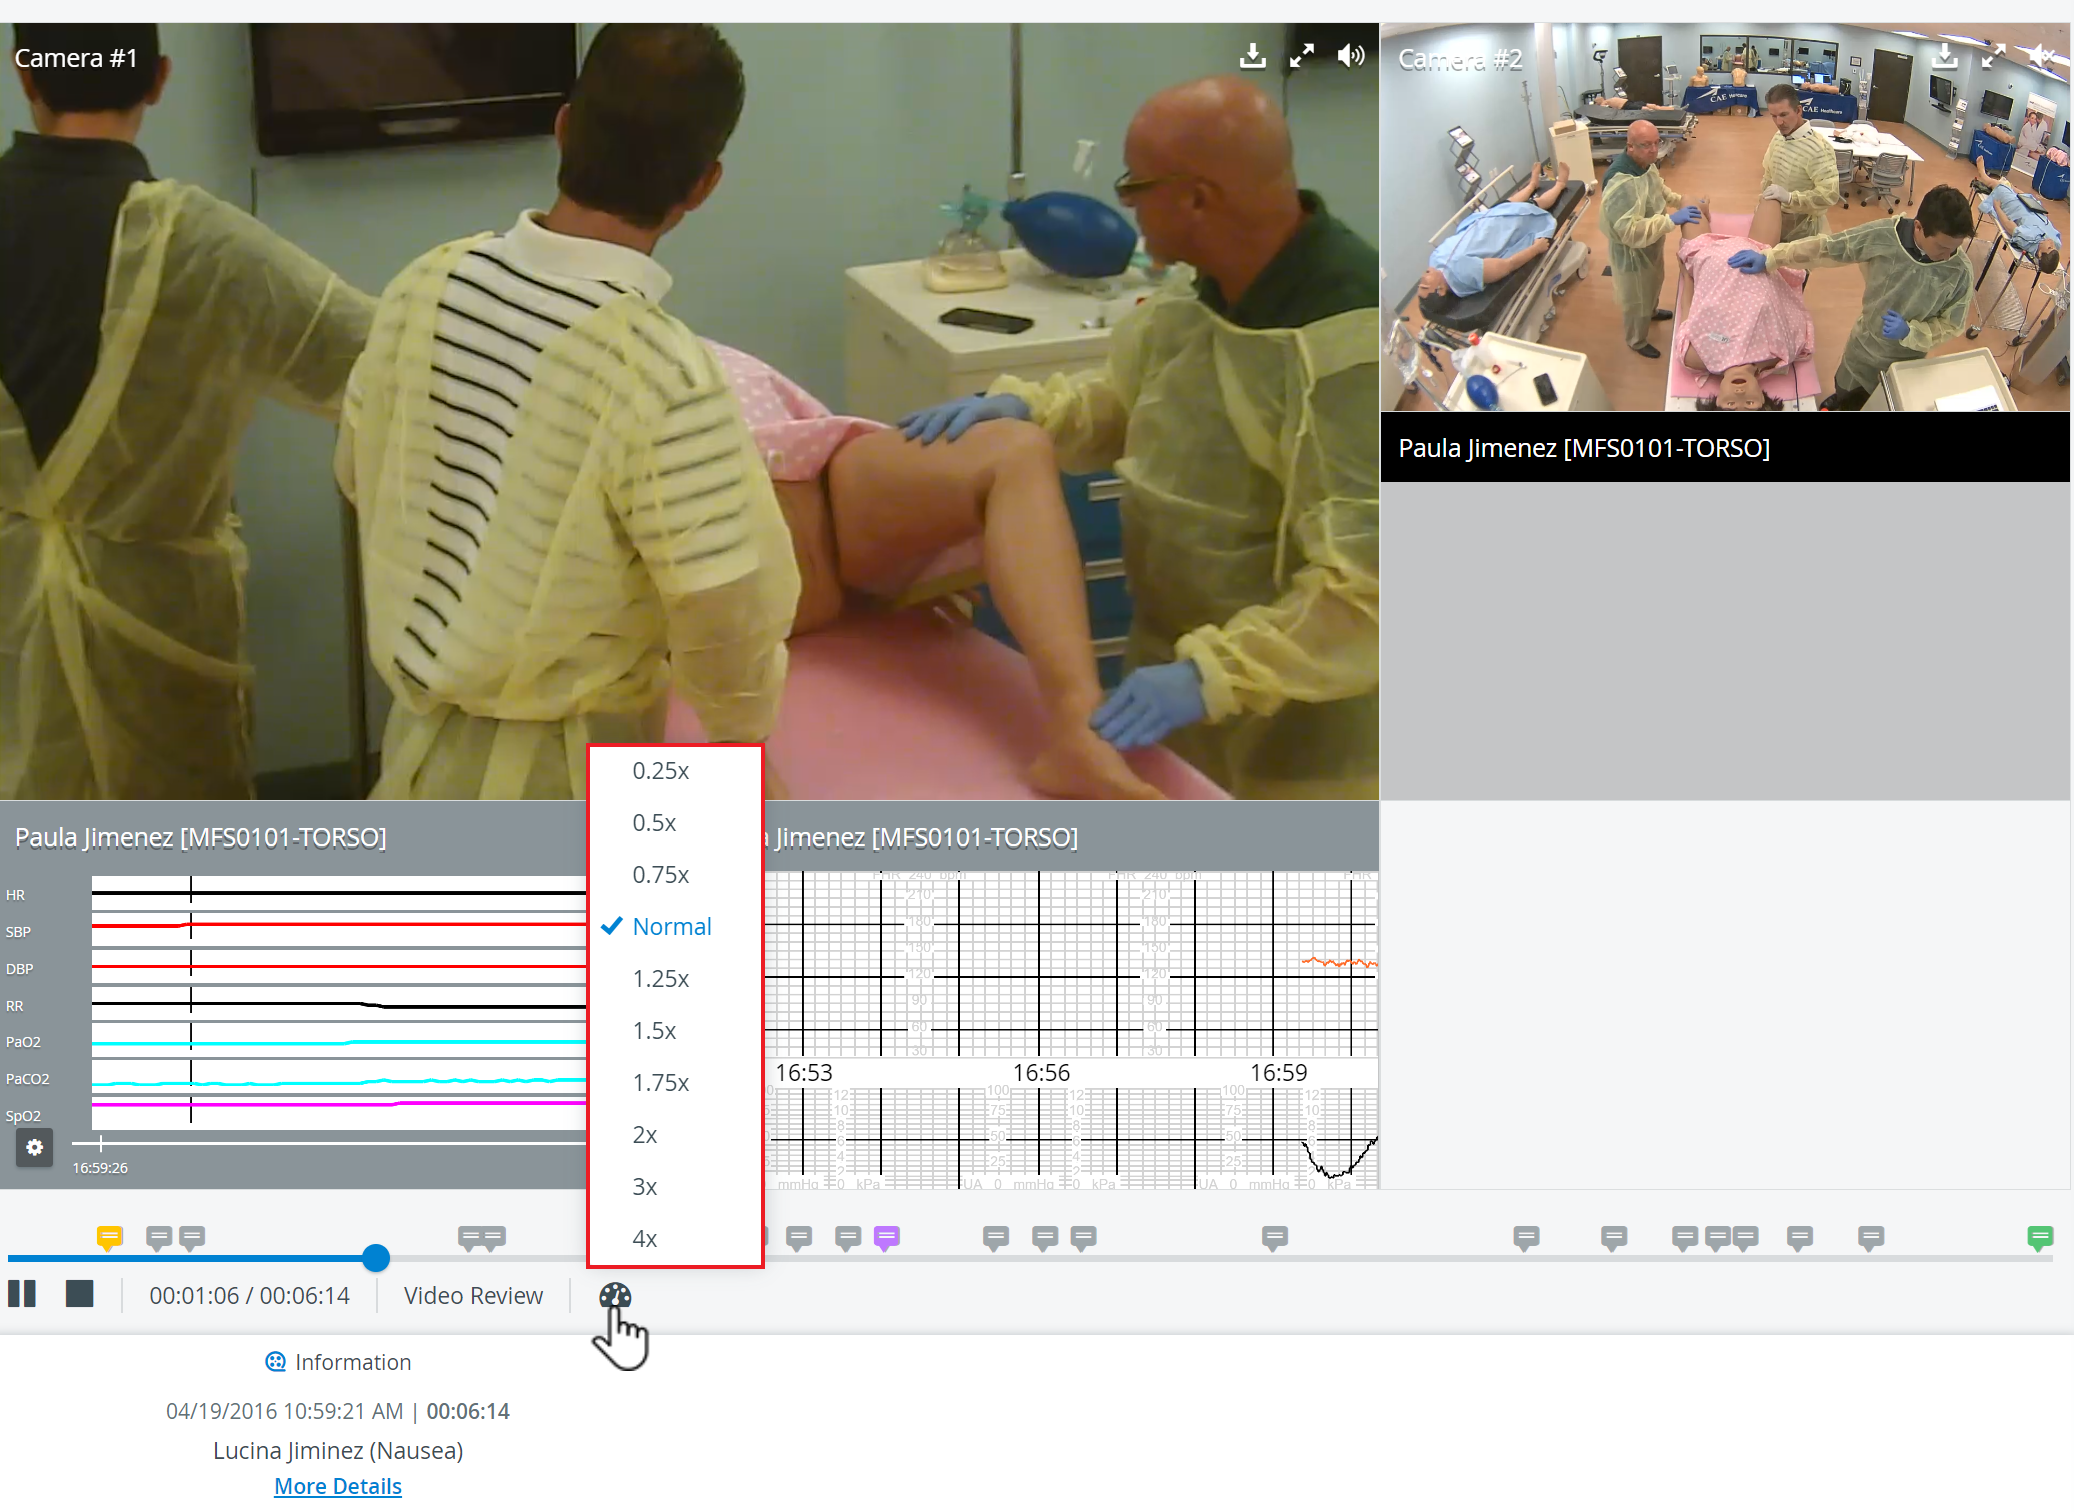
![]() With the help of the Video Playback Speed Icon, the fast-forward and slow-motion playback capabilities of the Video Review module can be utilized.
With the help of the Video Playback Speed Icon, the fast-forward and slow-motion playback capabilities of the Video Review module can be utilized.

Users can change the playback speed to the following values:
0.25x, 0.5x, 0.75x, Normal, 1.25x, 1.5x, 1.75x, 2x, 3x, 4x
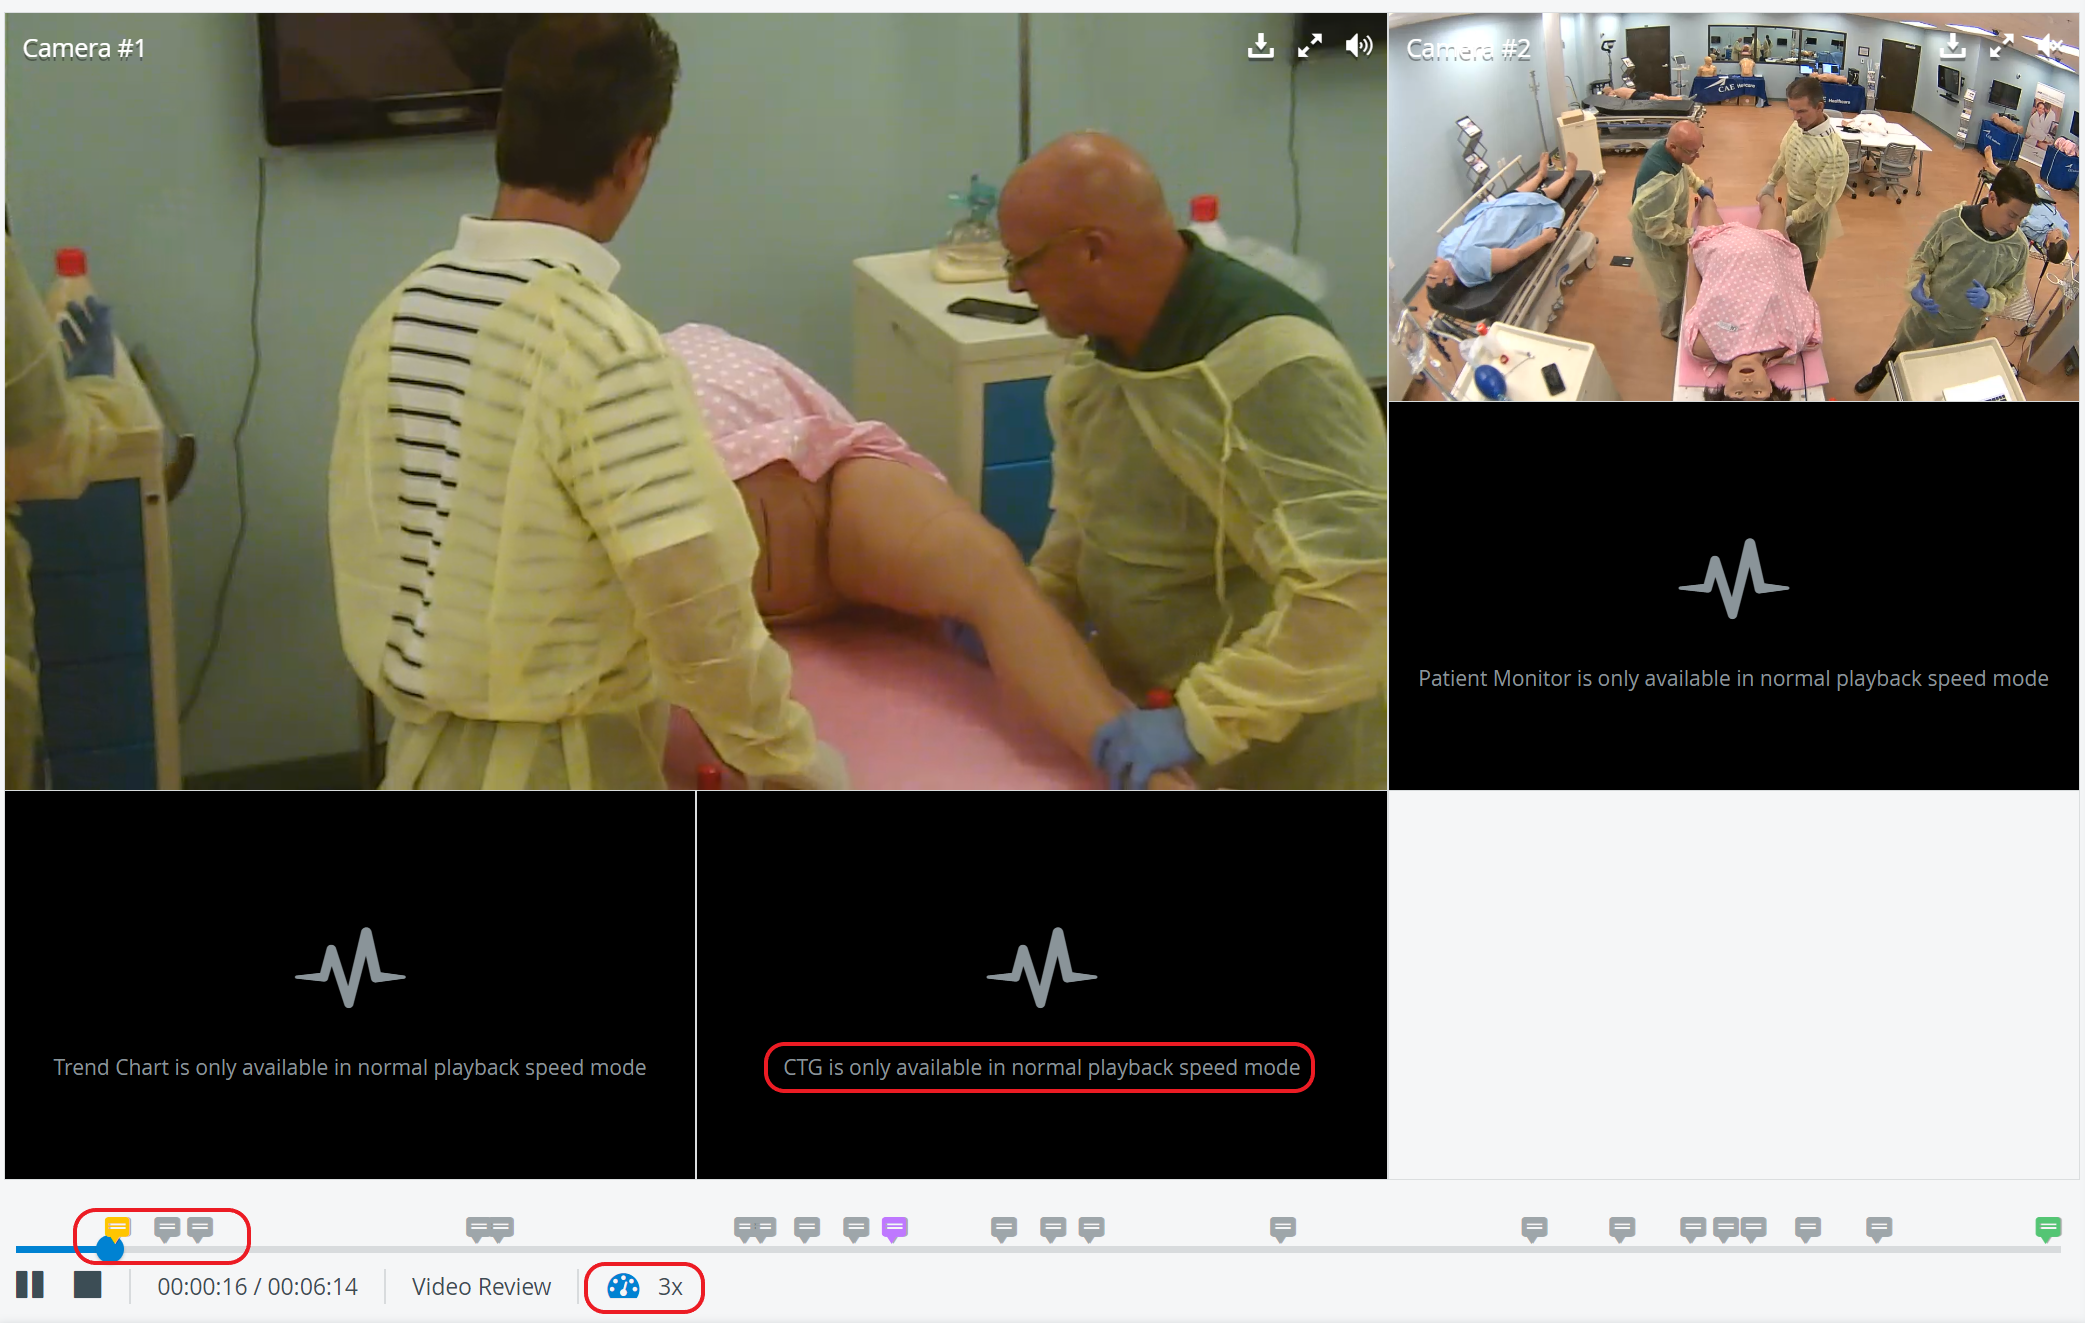
IMPORTANT: Only videos can be sped up, not waveforms. Simulator widgets (Patient Monitor, Trend Chart, CTG) will be disabled when fast forward or slow motion is enabled. A tooltip will appear on waveforms stating, "Patient Monitor / Trend Chart / CTG is only available in normal speed mode.”
Simulator logs or annotations stay in sync with the video speed.
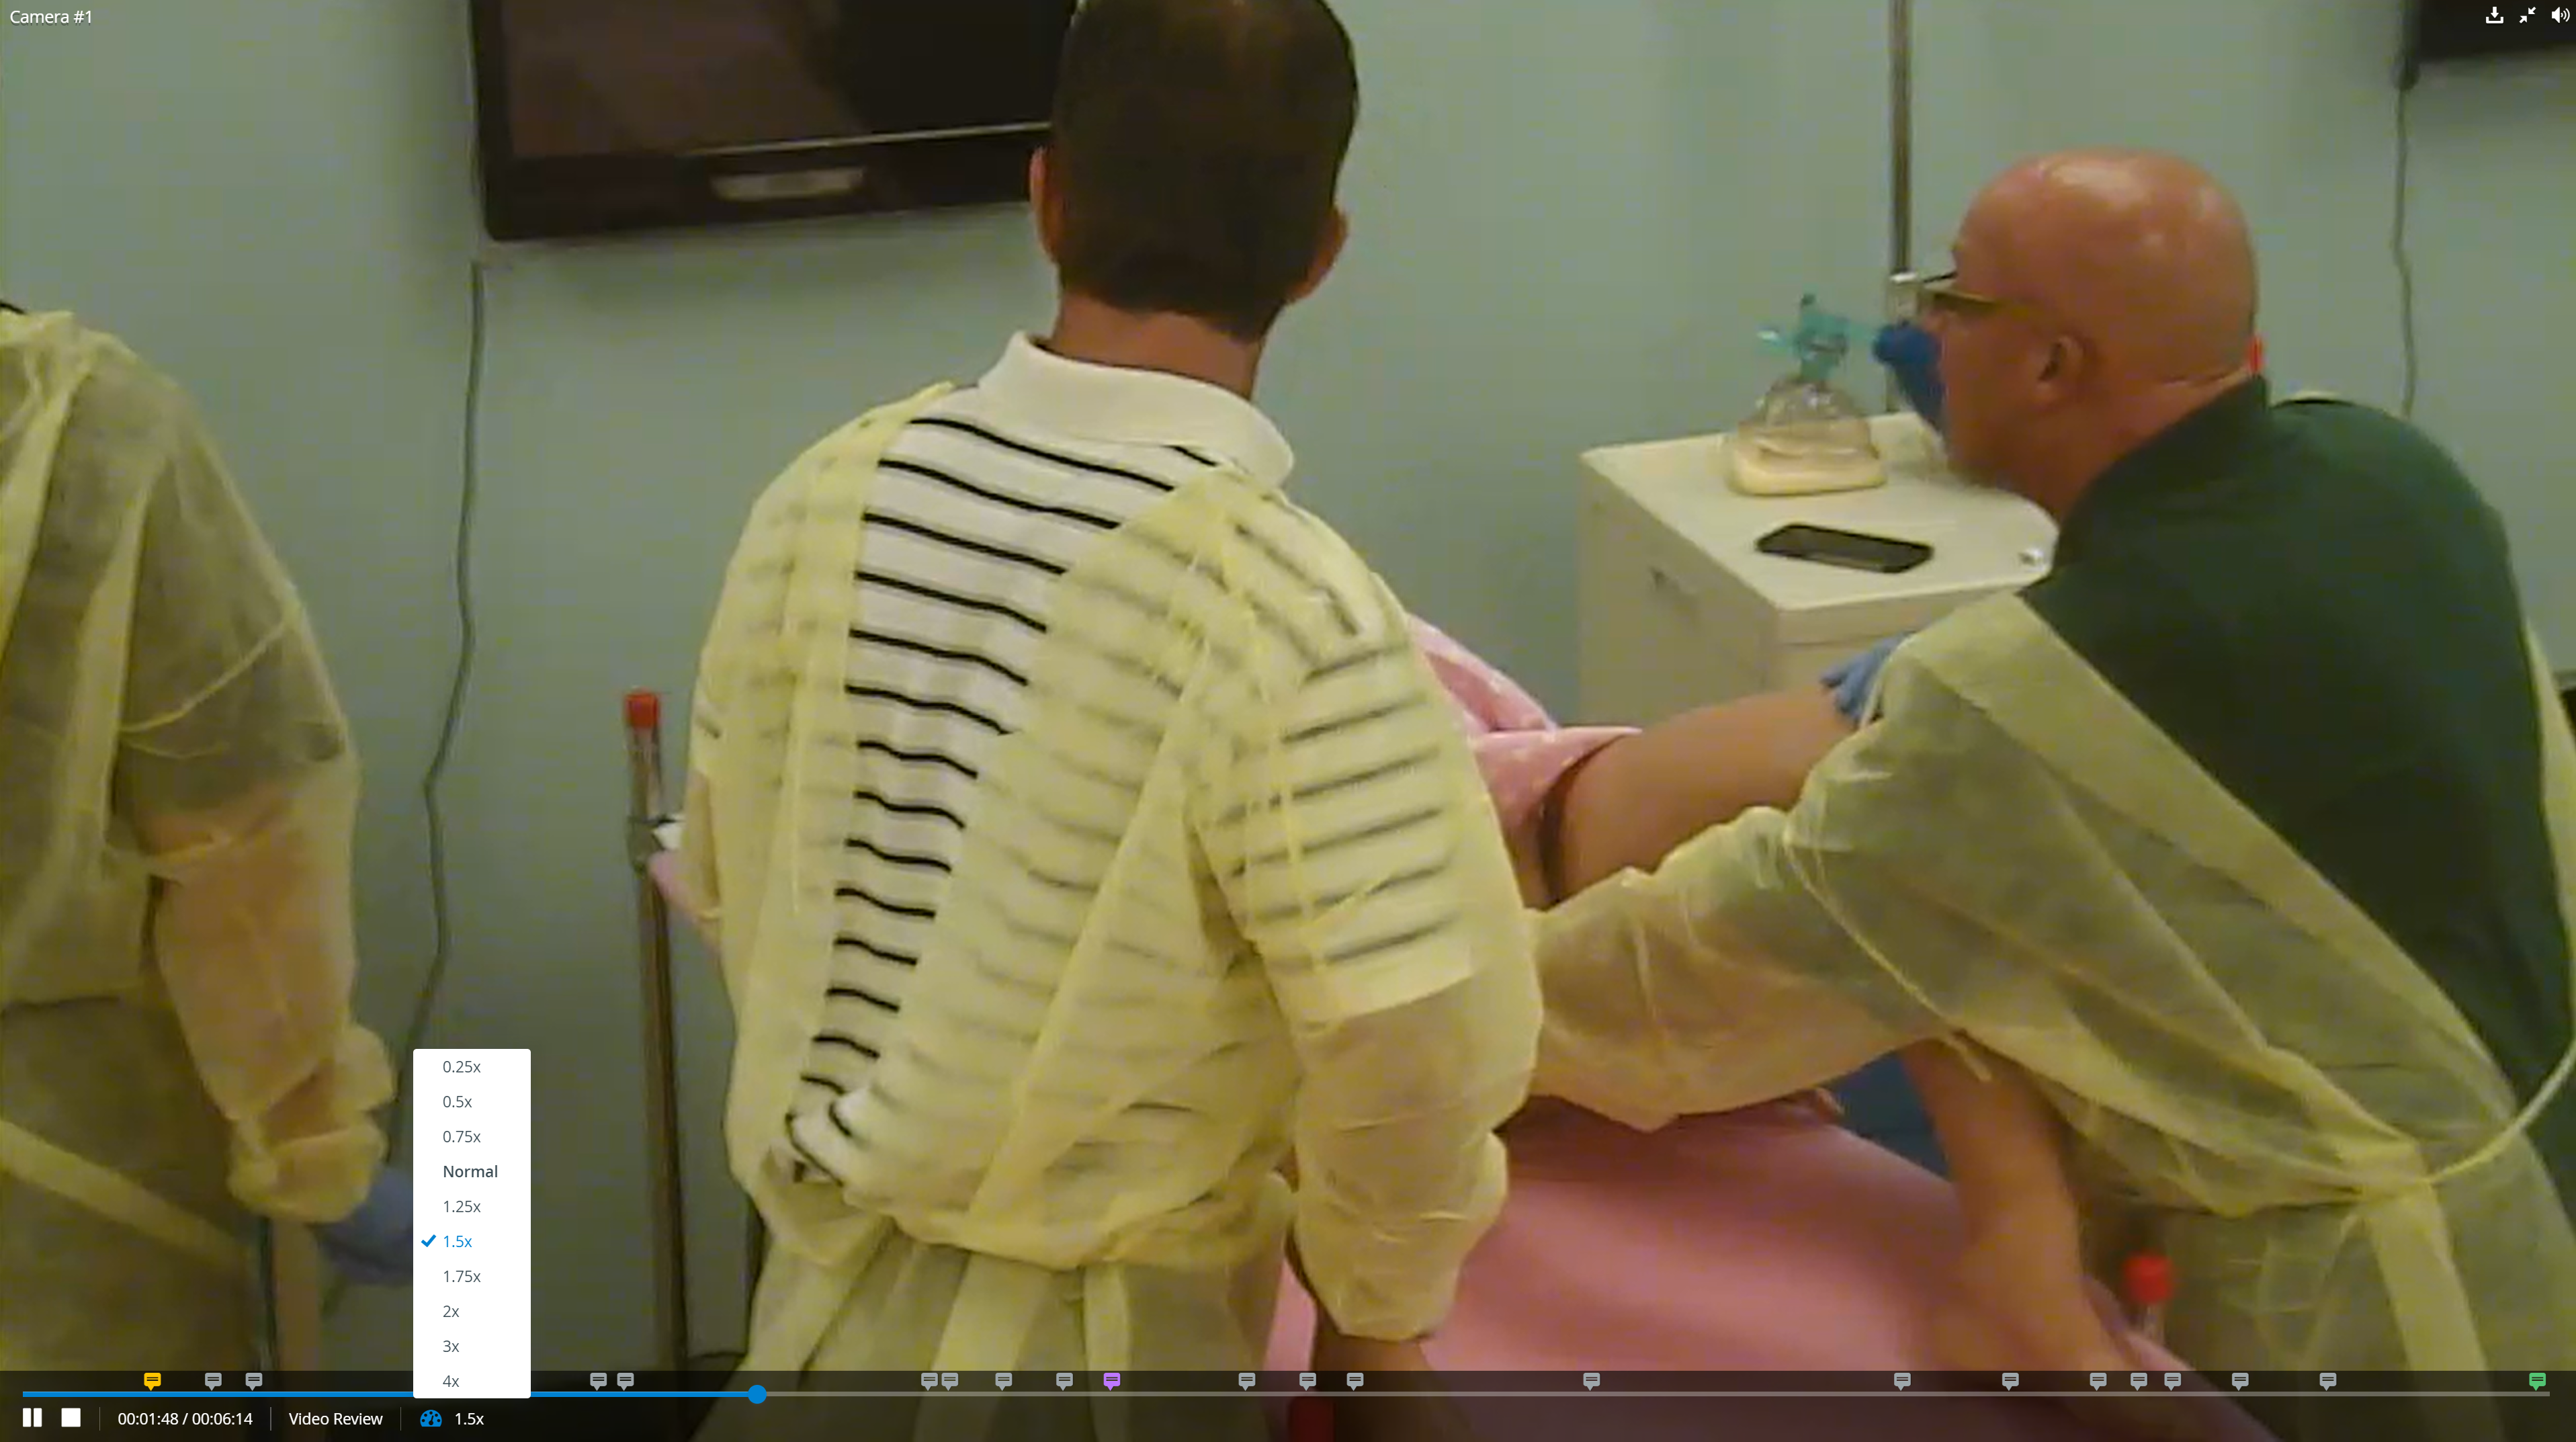
Video playback speed feature is also available in full-screen mode.
Video Transcript Tool
The Video Transcript tool enhances video recording and checklist capabilities by introducing automatic transcript generation.
The transcript of a video can be read on the Video review page.
In LearningSpace, transcripts can be generated in English.
For more information, see How to use the Video Transcript Tool page.

Enabling Transcripts - Transcripts can be globally enabled/disabled under Local Settings on the System page. Once a video is processed and transcript generation is globally enabled, the system automatically generates an audio transcript for videos.
For assistance, please contact your LearningSpace System administrators or email ls-support@elevatehealth.net.
If the Transcript feature is hidden (disabled), the system does not generate transcripts, and the Transcript tab is not displayed on the Video Review page.
If the global transcript setting is enabled after an existing video has been processed, the video will not have a transcript.
Closed Caption (CC) - If a transcript is generated for a video, you can turn on the Closed Caption (‘CC’) functionality on the Video Review interface, utilizing the generated transcript.
To turn on the Closed Caption, use the grey “CC” button in Video Review/SRV in line with the recording control buttons (rec, play, stop).
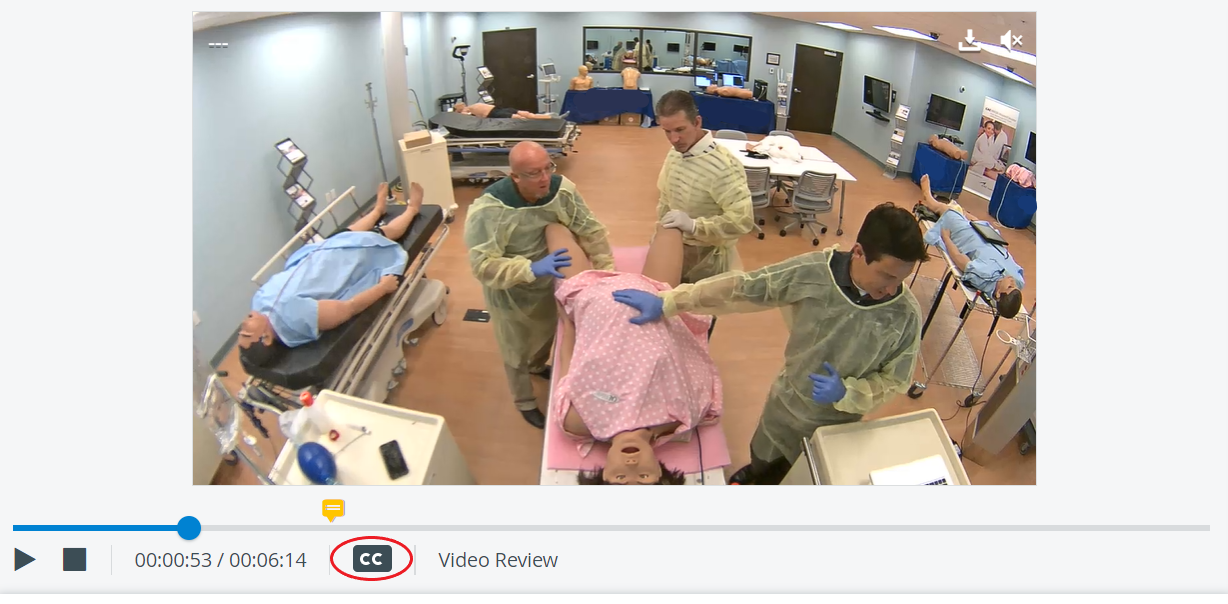
When the icon is clicked, it becomes blue, and a closed caption becomes visible. Clicking it again makes it invisible.

Closed Caption is turned off by default.
Searching in Transcript - You can do a text search in the transcript by typing in the search bar above the transcript.
The transcript highlights segments that match the search query, and you can quickly cycle through the search results by using the up-down arrow icons or tapping hotkeys.
When grabbing the timeline or clicking on the annotation icon, the transcript syncs with it.
By clicking the Download Transcript option, you receive a file in *.srt format, named according to the specified format, containing the transcript.
If a transcript is generated for a video with multiple speakers, the different speakers are diarised in the transcript in the following way: Speaker A, Speaker B, etc.
Learn more on our Video Review - FAQ pages.