How to use the HTTPS certificate request/upload tool
LearningSpace is a web application accessed by a web browser on the client's computers. To secure the data between the LearningSpace system and the client's browser, the otherwise unsecured HTTP traffic must be encrypted using strong SSL certificates, resulting in HTTPS traffic.
LearningSpace strongly recommends installing a valid SSL certificate. The securely encrypted HTTPS traffic will minimize the risks inherent to applications connected to the Internet.
See How can an SSL certificate be acquired?
Specifically, the Intercom functionality of LearningSpace requires the web browser to have access to the microphone of the client PC, which in turn requires a secure HTTPS connection to the LearningSpace server.
It is the responsibility of the end-user institution to provide the SSL certificate.
The HTTPS certificate request tool is a hideable tool - please reach out to LearningSpace Support to have it enabled on your system (ls-support@elevatehealth.net)or Live Chat - more contact details available in the Customer Aftercare One-Pager)
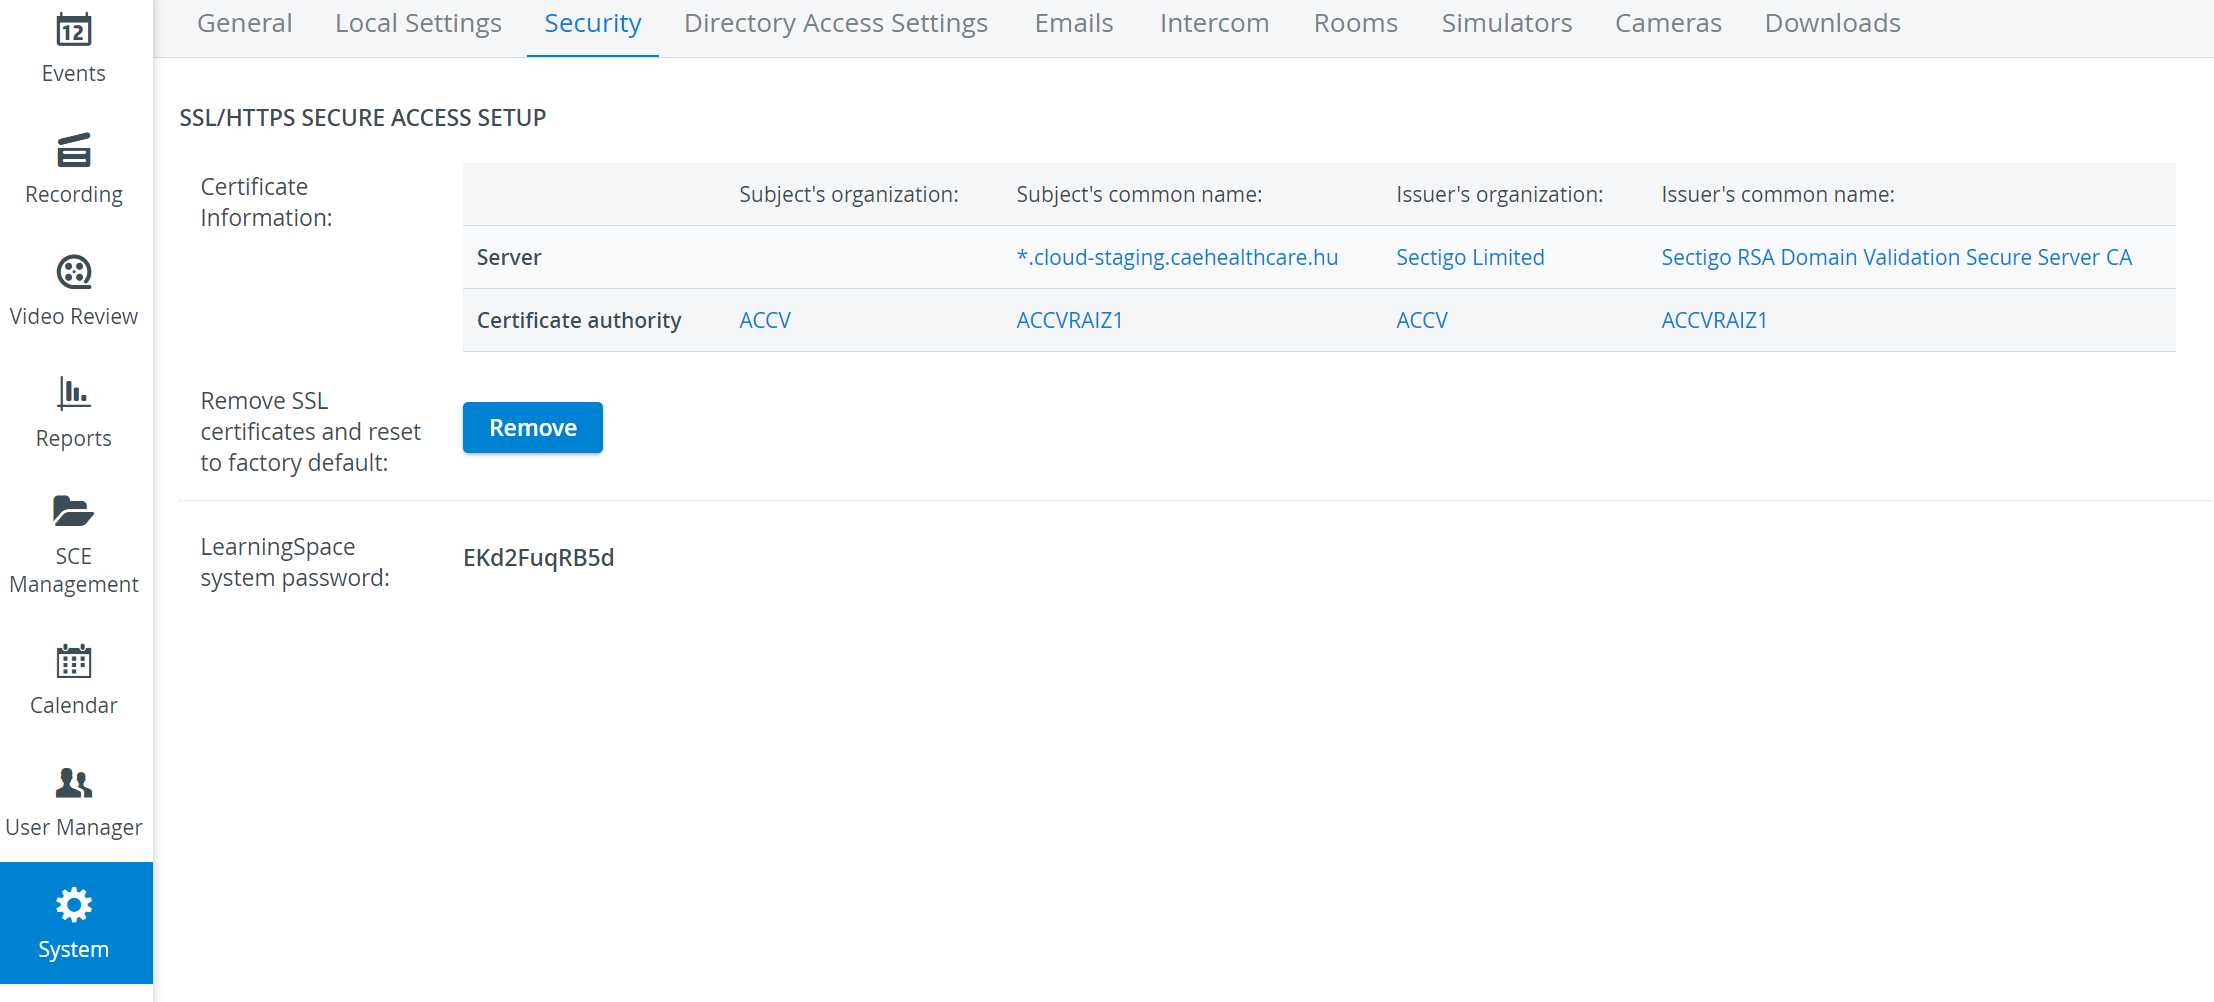
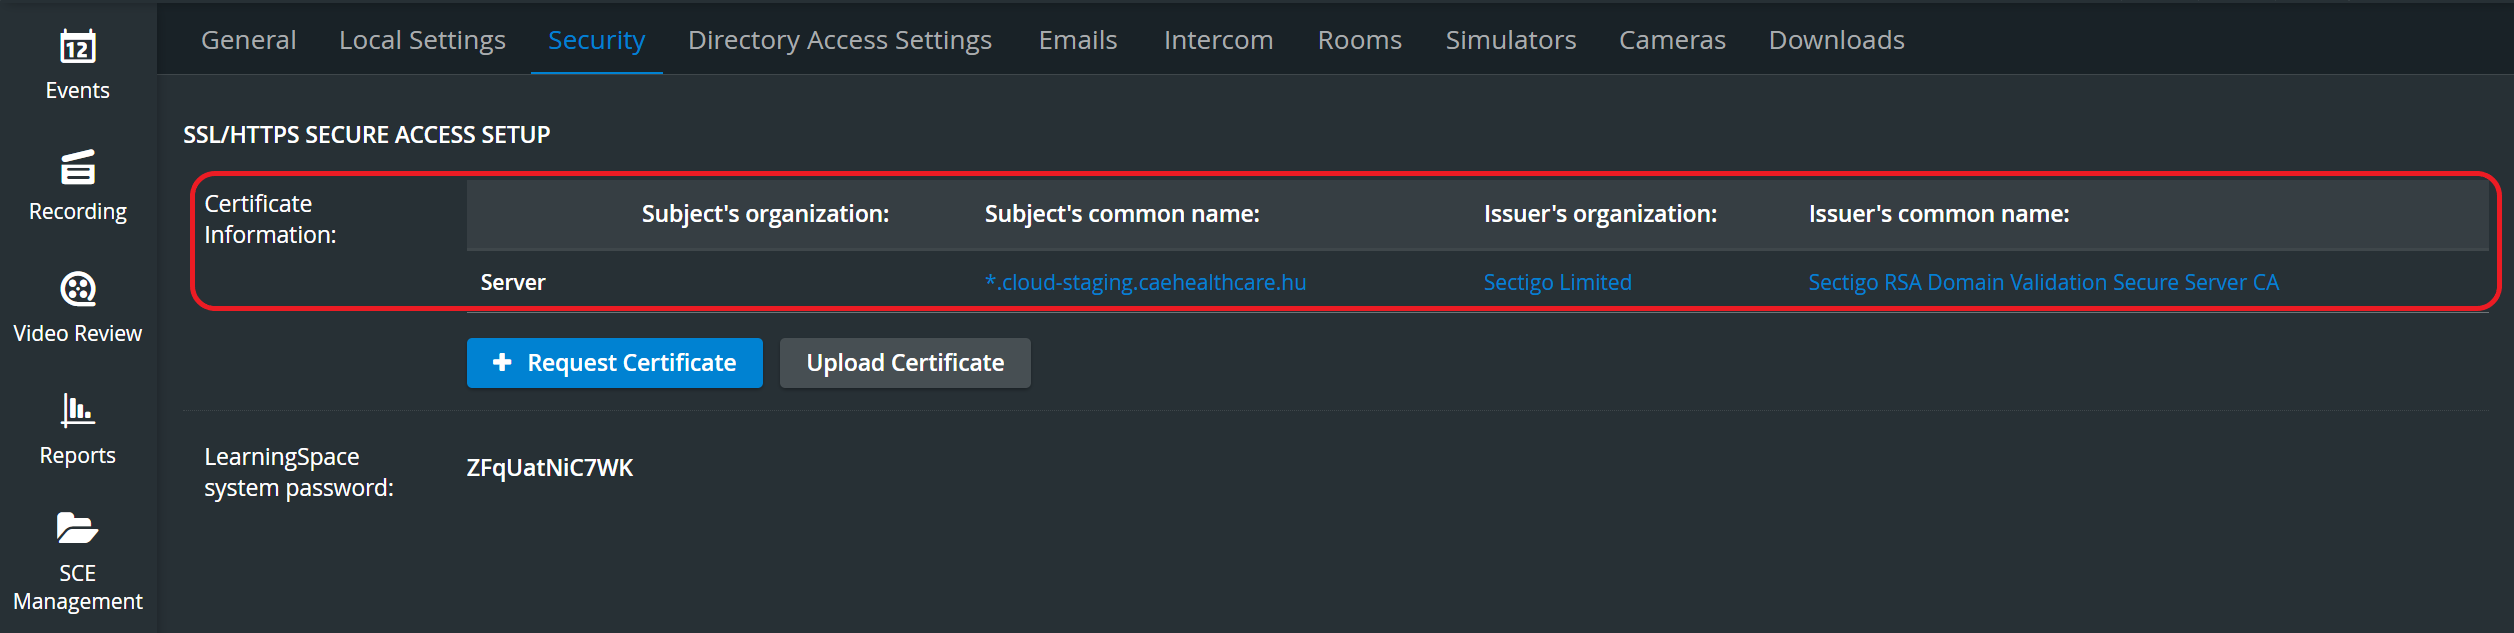
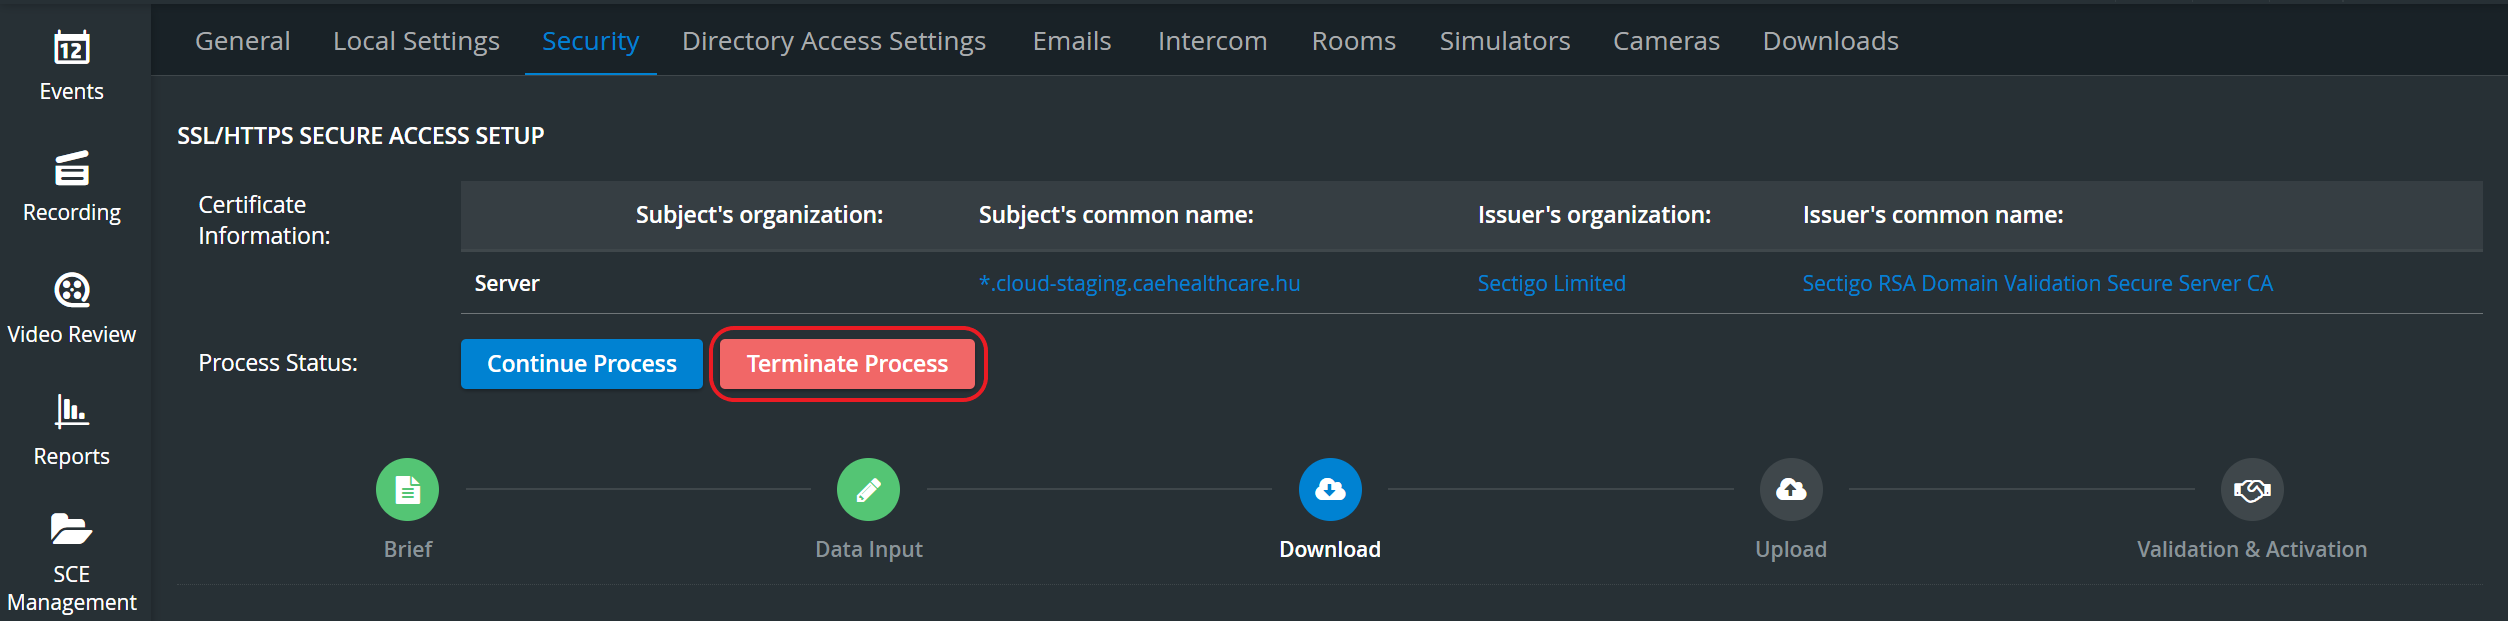
If not enabled, the "legacy" version of the 'SSL/HTTPS SECURE ACCESS SETUP' will be available on the System Manager's Security tab (see image below).
For more information, read How can an SSL certificate be acquired?
Process of requesting/uploading a certificate
Navigate to System module, Security tab, SSL/HTTPS SECURE ACCESS SETUP.
Available to Admin users only.
Two options will be available here: the Request Certificate and the Upload Certificate options.

As the first step of the HTTPS configurational process, select from the following two scenarios:
You do not have a certificate or a key → proceed to Request Certificate
You have your own SSL certificate and a private key → proceed to Upload Certificate
Request Certificate
By selecting the Request Certificate option, five steps will follow to request a certificate. The main components are:
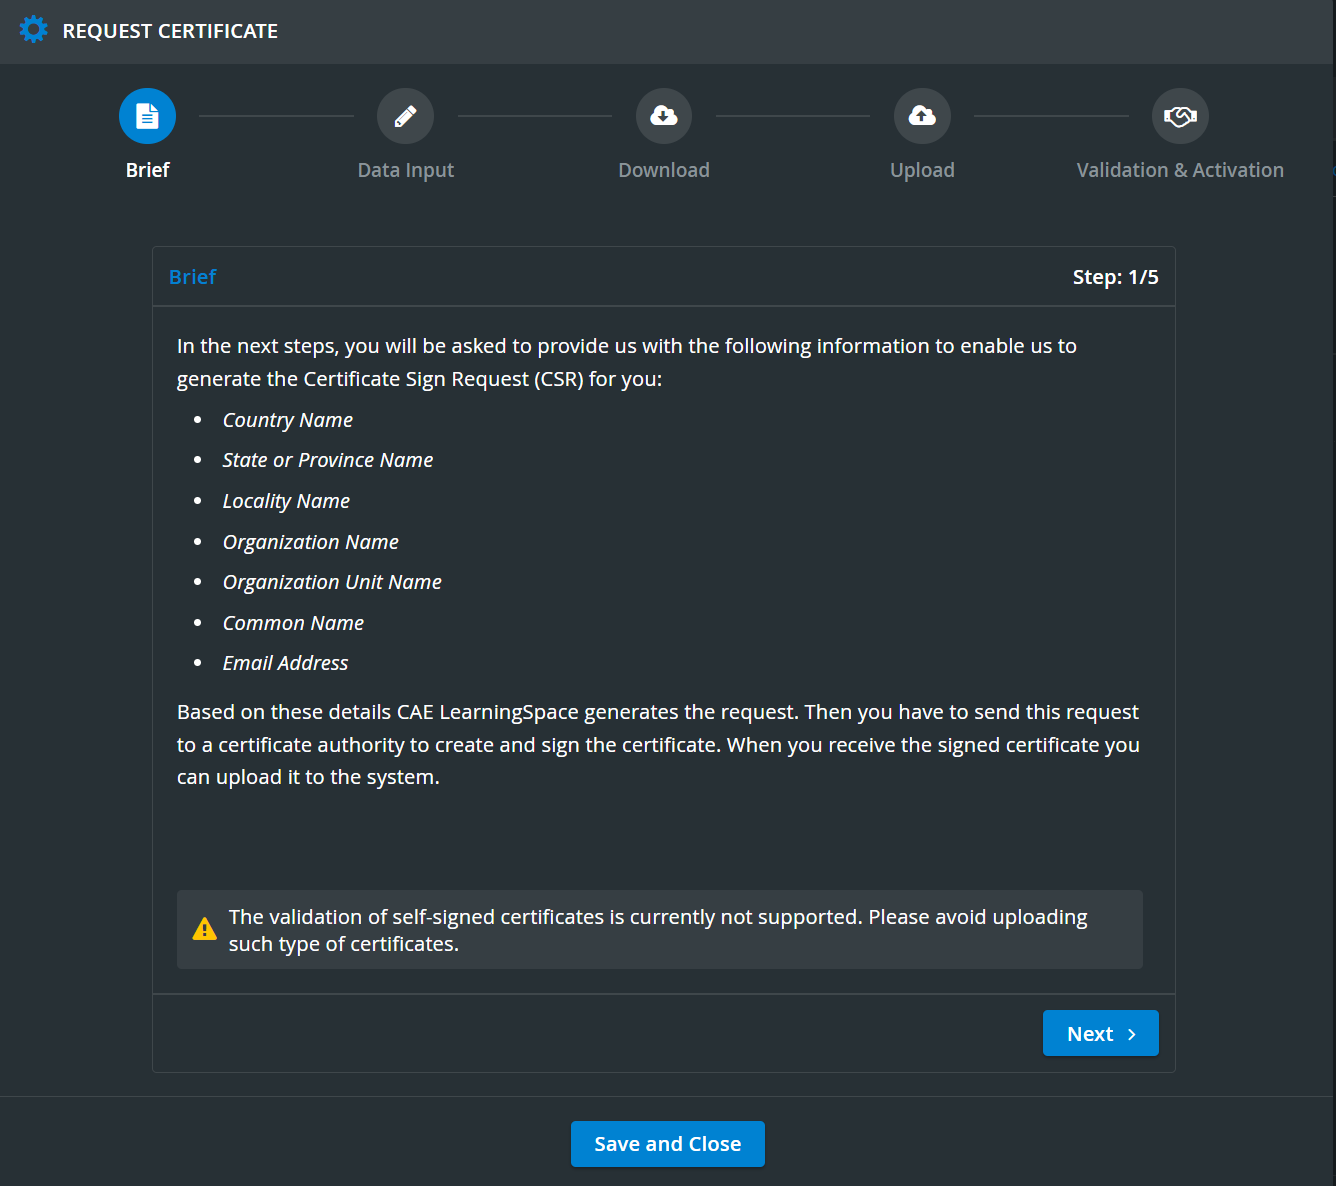
Brief - information about these steps
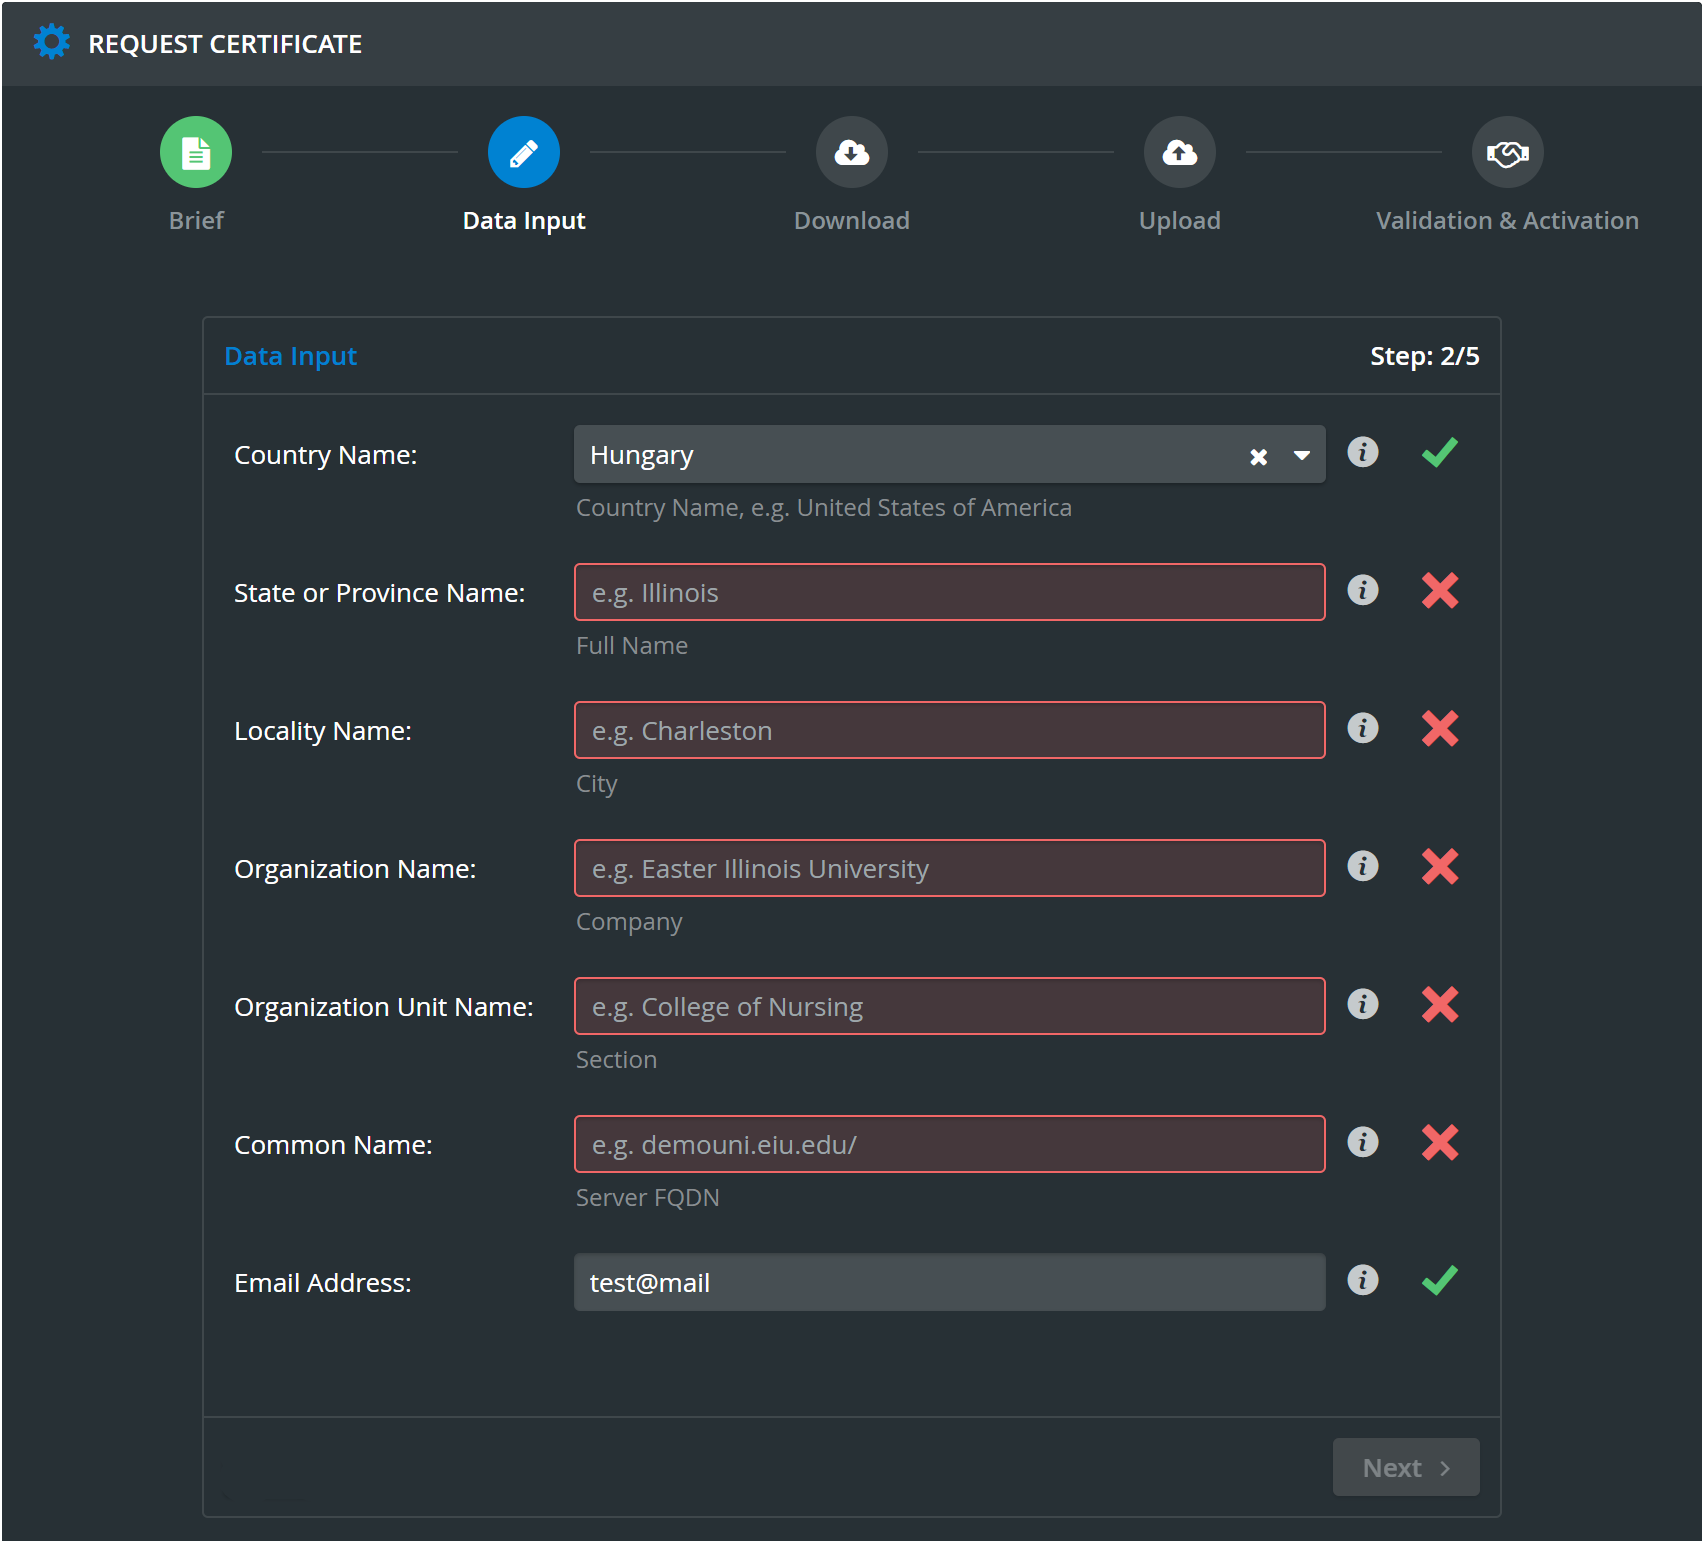
Data Input - empty fields to fill in with the necessary data (Country Name, State or Province Name, Locality Name, Organization Name, Organization Unit Name, Common Name, Email Address)
Download Certificate - a generated certificate that includes the above data
Upload Signed Certificate—This option allows you to upload a certificate signed by a Certificate Authority. Optionally, intermediate certs can be uploaded, and the host name can be validated here as well.
Activation - data can be verified once again before activating the certificate
Brief
This component describes what will happen in the next steps.
Data Input
As the second step, the fields need to be filled in with the necessary pieces of information.
The first field is a dropdown menu populated with country names.
The next five fields must be filled in accordingly (minimum character limit is 1, no character maximum limit).
The last field (Email Address) must be filled correctly, with any of the following formats: test@mail or test@mail.com.
Information tips will help you fill these fields by hovering over the info icon.


If not all the fields are filled in or one field is incomplete, the Next button stays inactive.
Once all data is added correctly, green checkmarks show the completion and the Next button becomes active.

Download Certificate
The certificate can be downloaded here, which is filled in with the previously entered data.

Once the Download button has been hit at least once, the Next button will become active.

Hit the Next button to proceed to the Upload Signed Certificate step.
Validating Certificate by a Certificate Authority
The downloaded Certificate Signing Request (CSR) needs to be submitted to a Certificate Authority (CA) for signing. Once validated and signed, you can upload the Signed Certificate into your LearningSpace system.
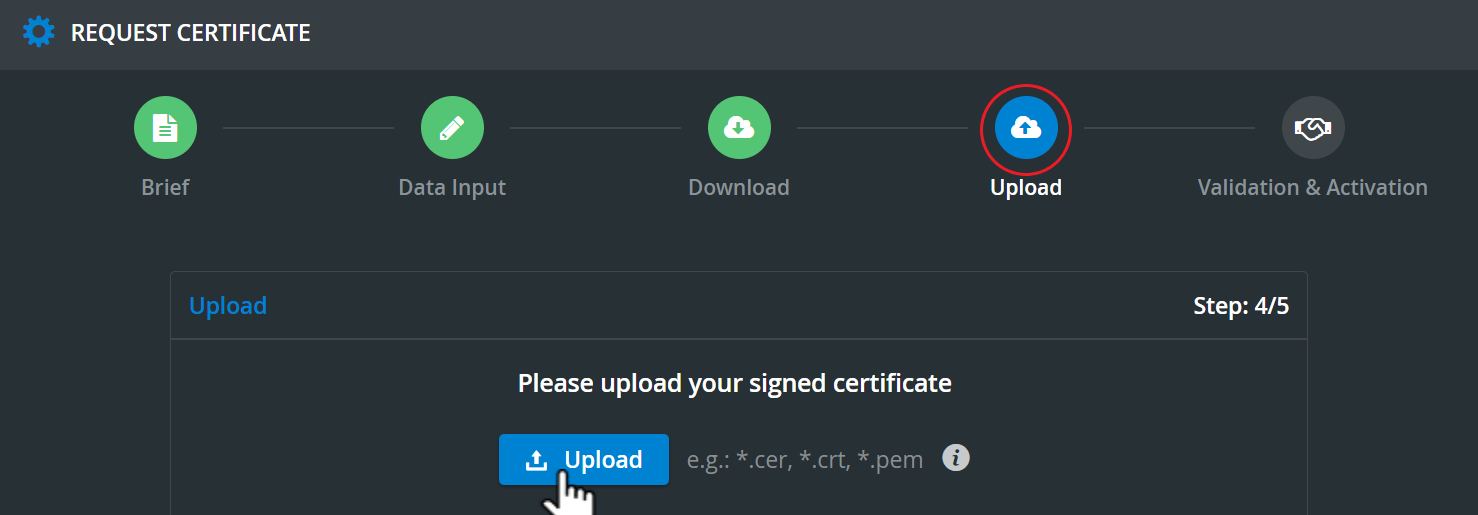
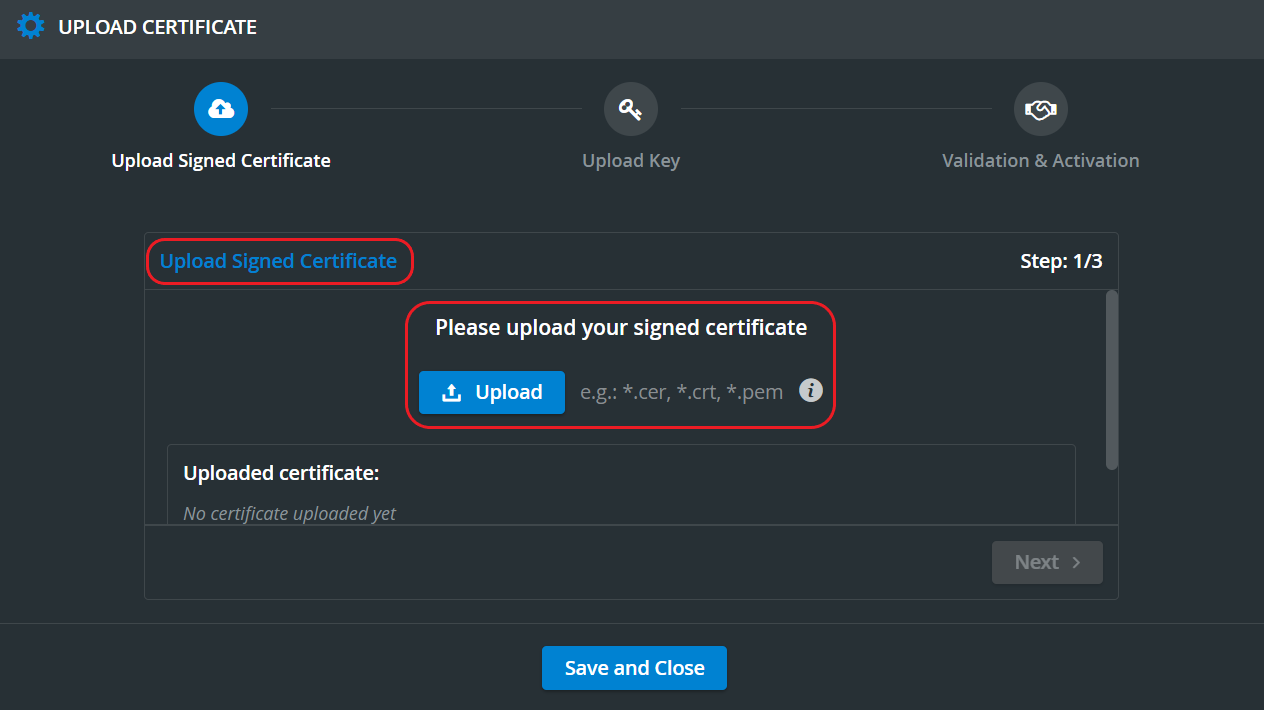
Upload Signed Certificate
This step allows you to upload the *.crt file downloaded in the previous step (or *.cer/*.pem files) signed by a Certificate Authority.
*p7b, *p12, *.der format files are not supported in LearningSpace.
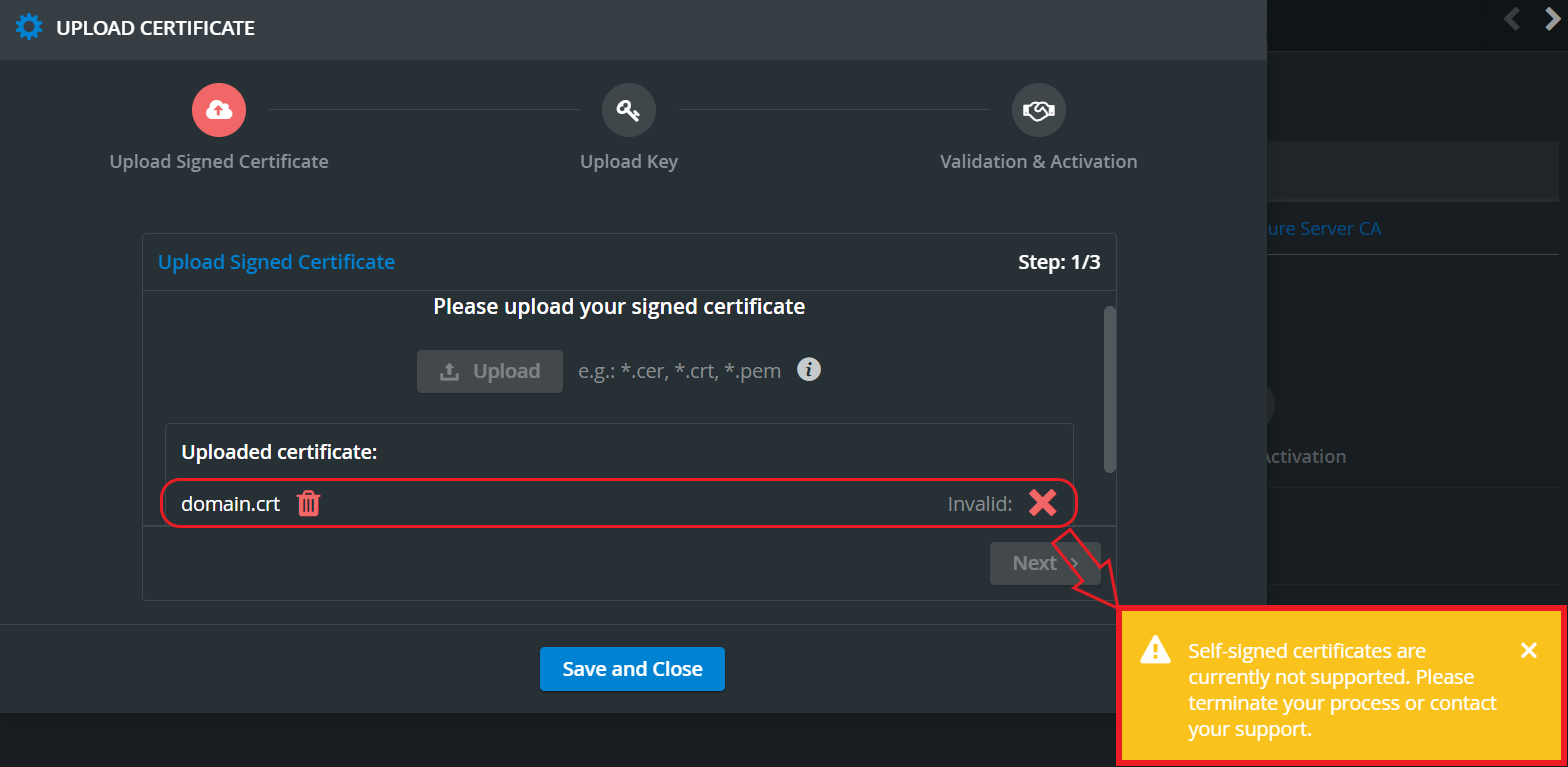
Self-signed certificates are currently not supported in LearningSpace. The below notification message warns you about this. Read more about Self-signed certificates further below*.

Press the Upload button and select the certificate file to be uploaded.
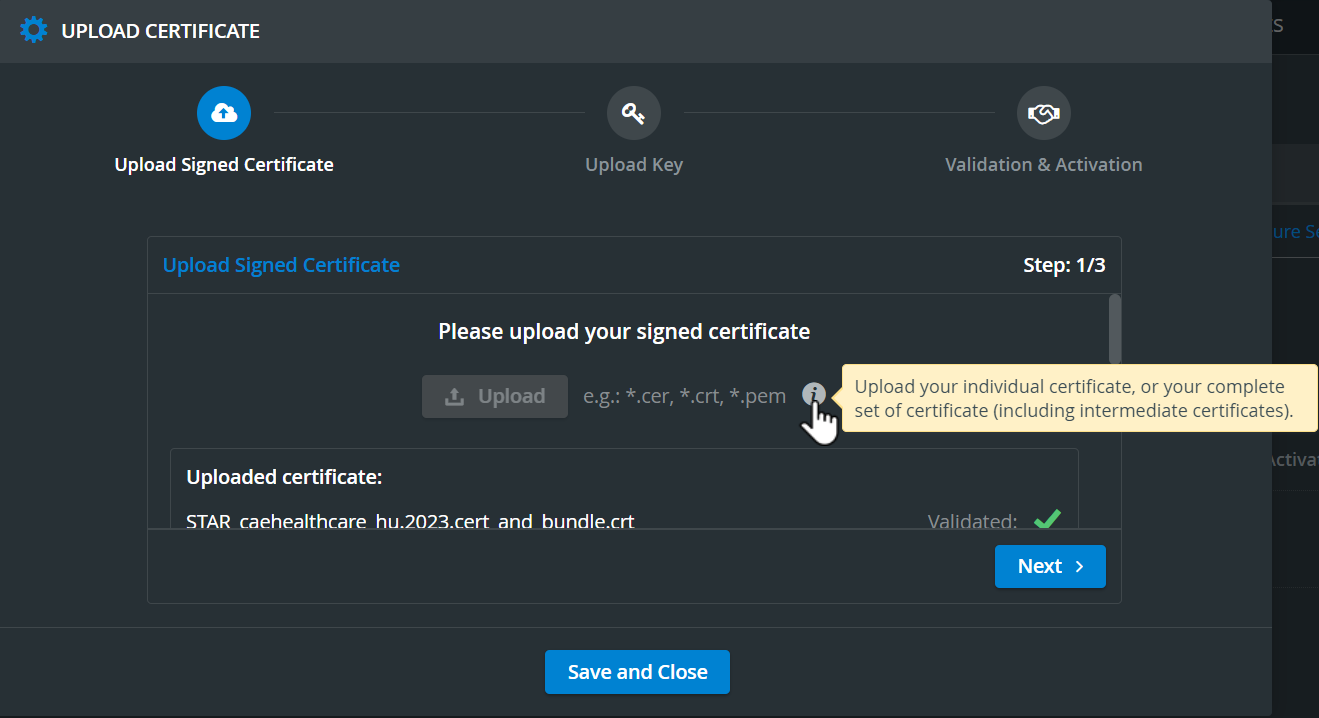
Hover over the info icon icon to get more information.

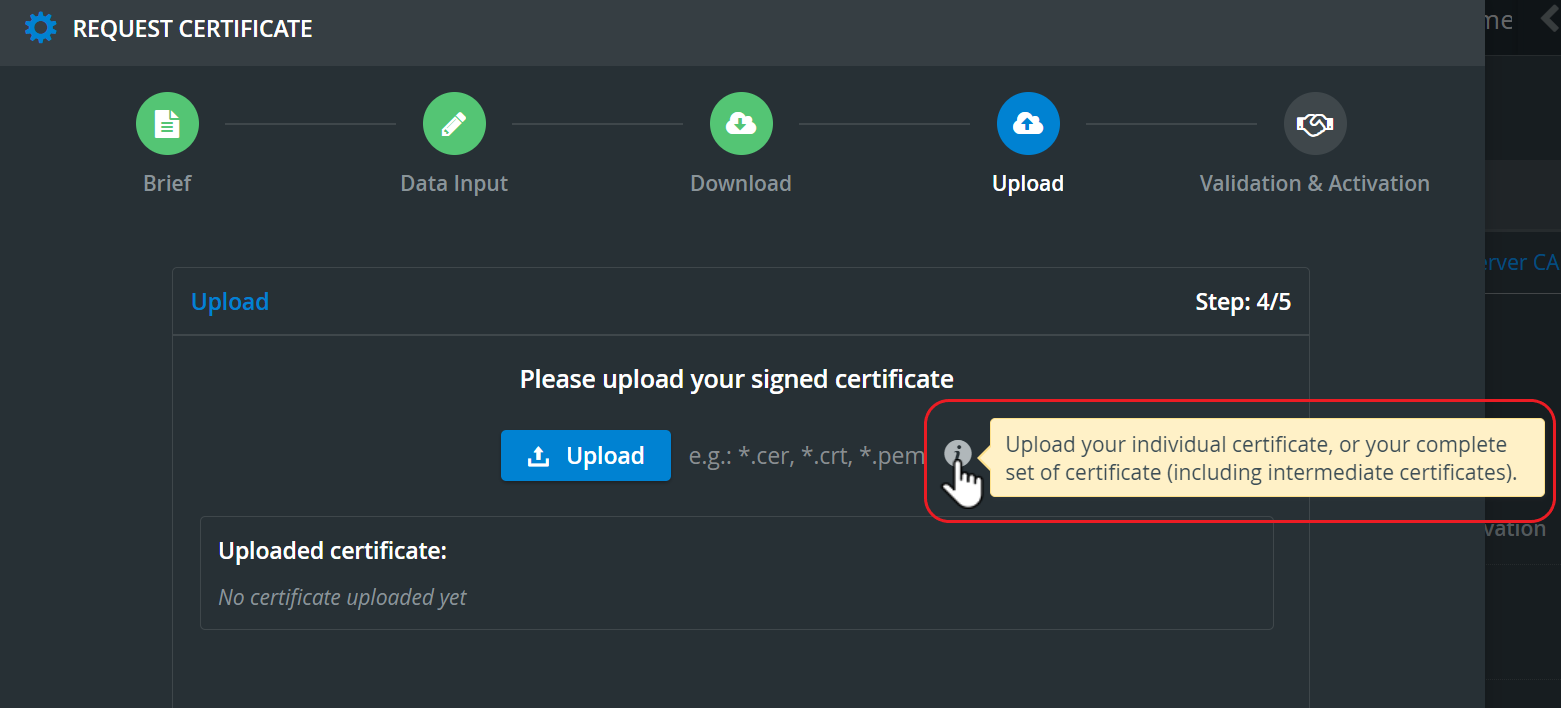
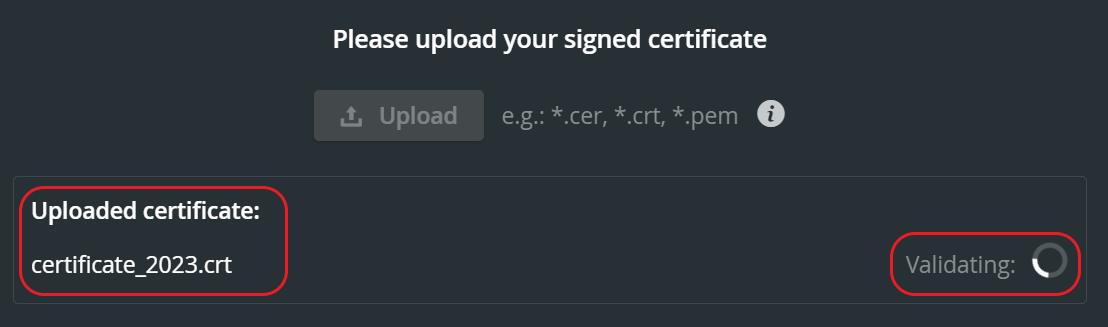
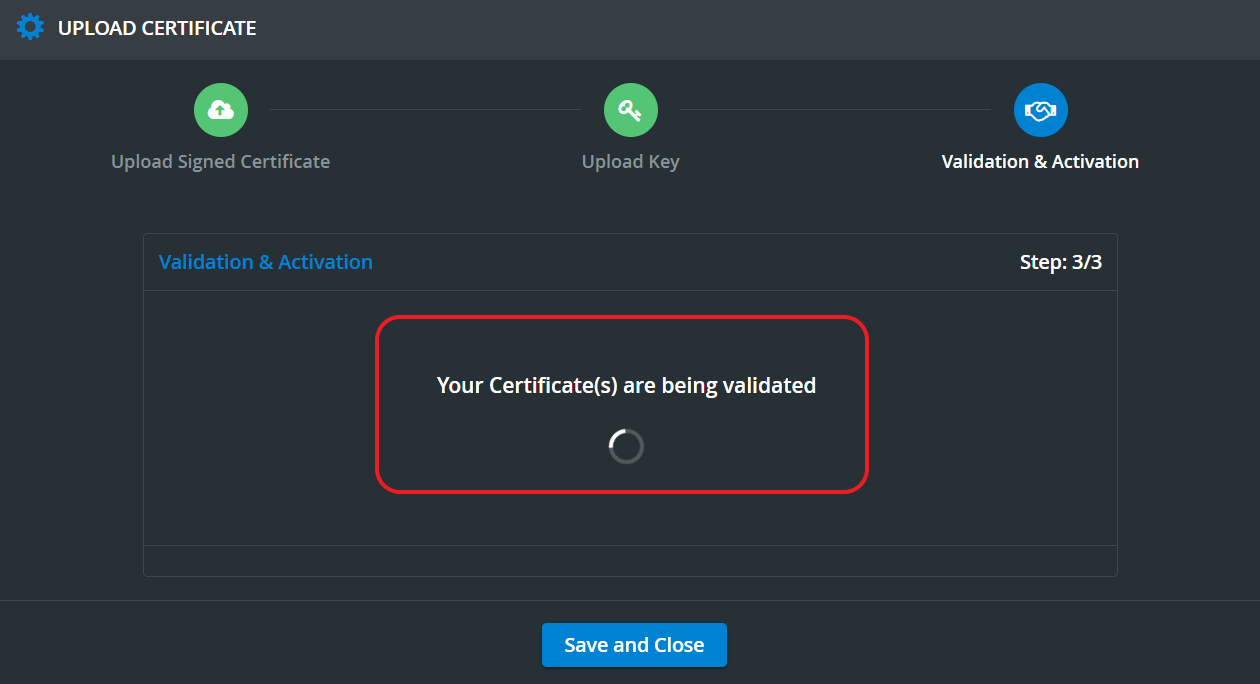
The validation starts automatically: 'Validating' and a loading circle will be visible.

Once the validation is finished, the two outputs can be 'validated' or 'invalid'.
Invalid cert returns with the script 'Invalid' and a red cross.

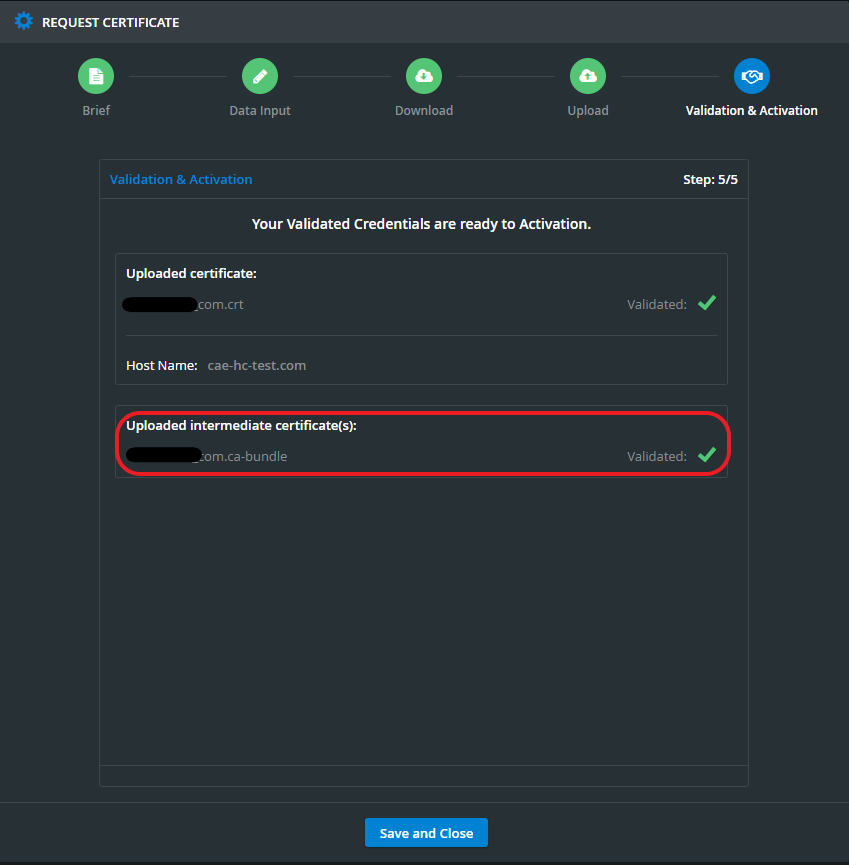
The valid cert returns with the script 'Validated' and a green checkmark.

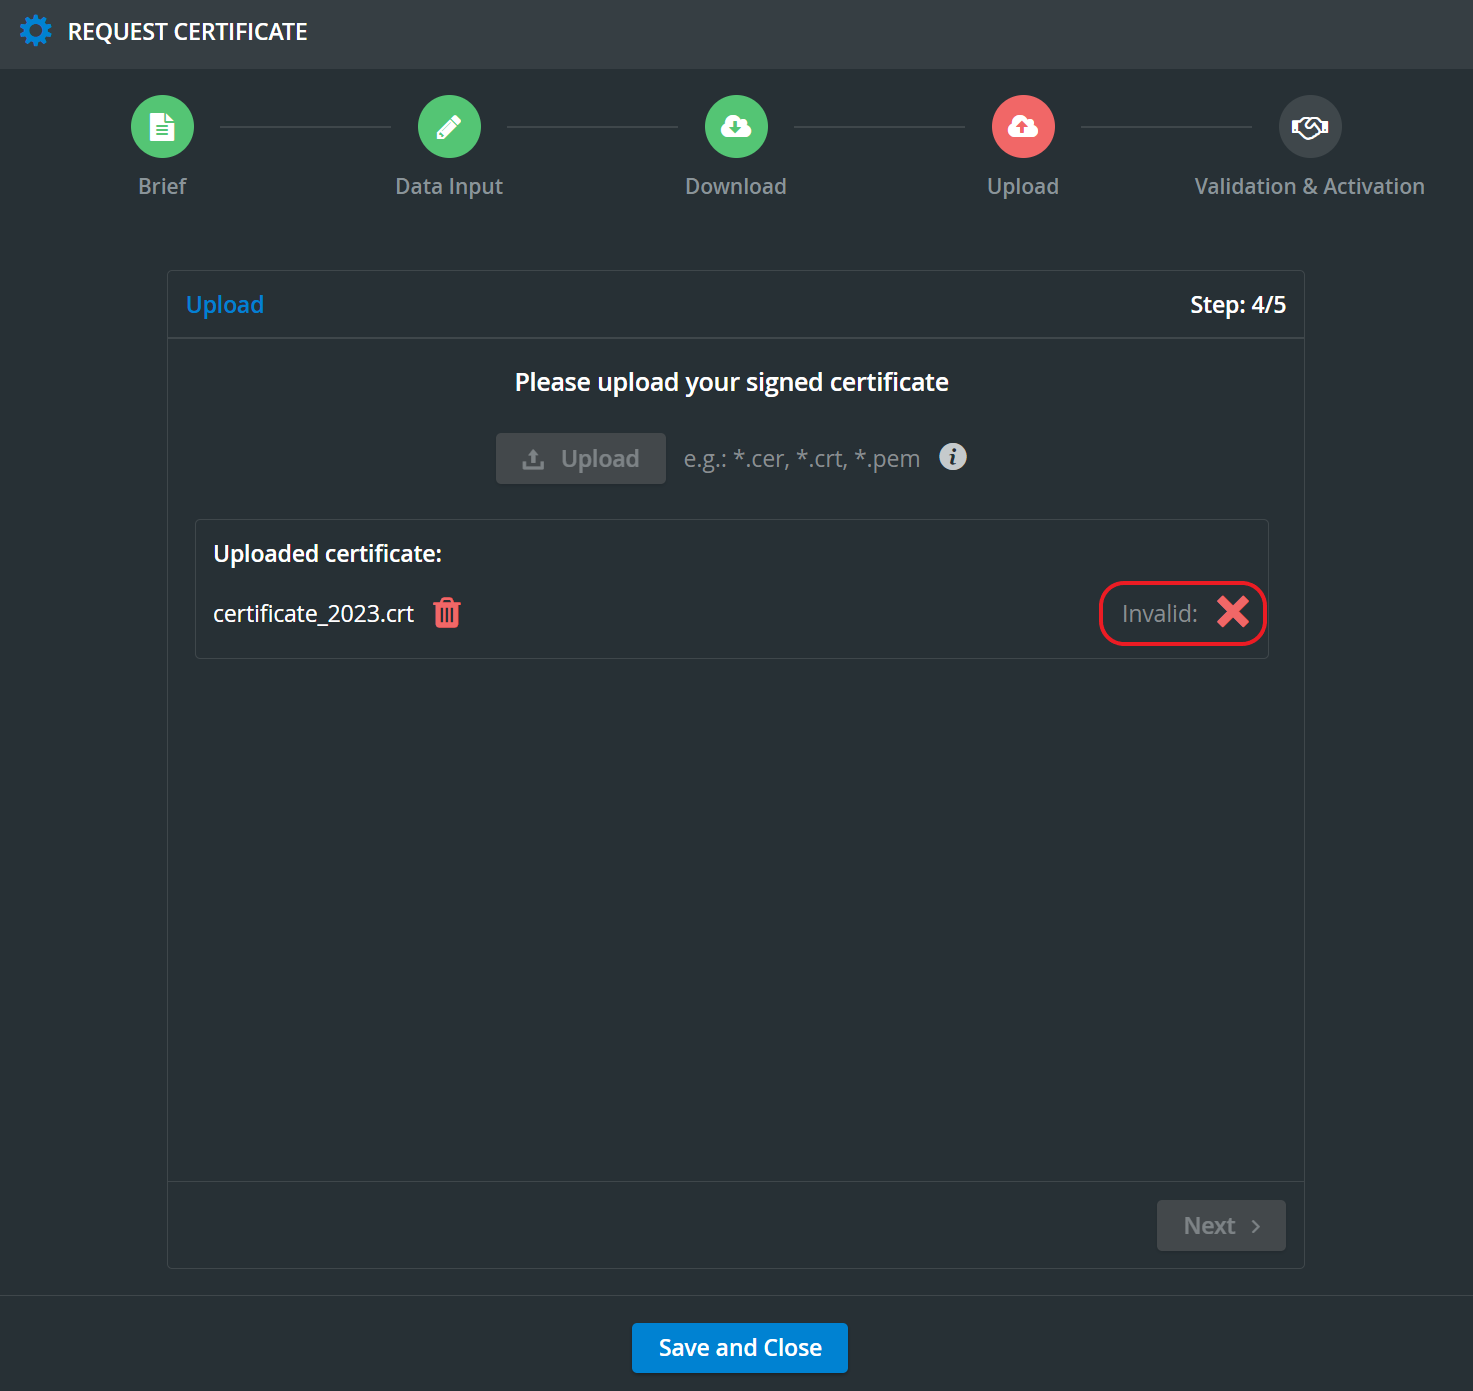
In an Invalid certification upload, the certificate should be deleted using the dustbin icon.
Anytime a request process is restarted, the newly generated certificate needs to be signed by the CA - the one from the terminated process cannot be reused. |

If the certificate is a wildcard, you can test the hostname. (After the test, you still need to complete the chain.)
You cannot test the hostname if the certificate is not a wildcard. (You still need a complete chain.)
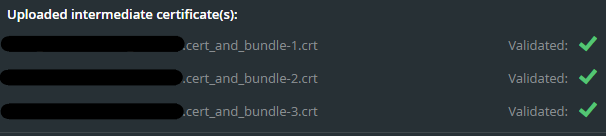
In special cases, intermediate certificate(s) can also be uploaded (maximum limit is 5).

Multiple intermediate certificates can be uploaded (and deleted if necessary) individually, according to their correct sequence.
Invalid intermediate certificates can be deleted using the red dustbin icon, and a new intermediate certificate can be uploaded.

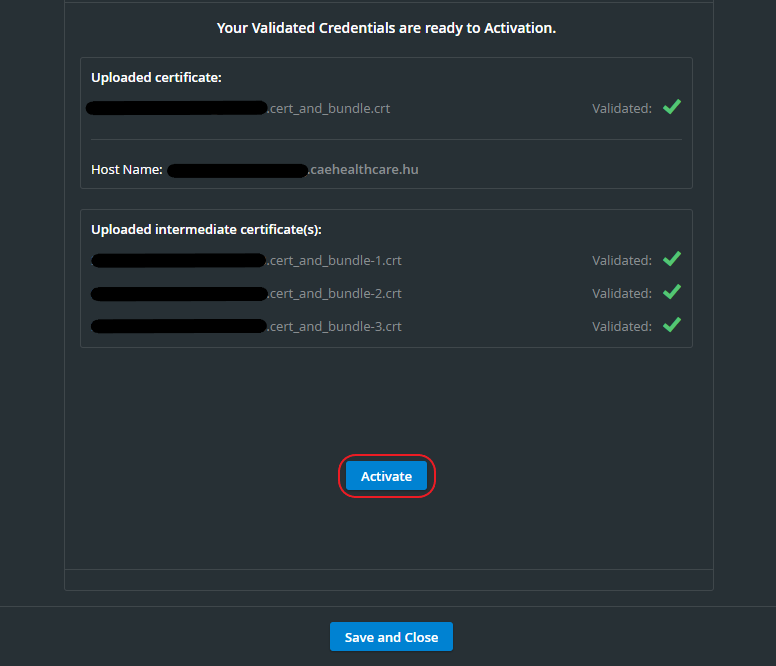
Activation
All previously uploaded files are collected on the activation component and summarized on this component.
Here, you can activate your certificate by pressing the Activate button.
Pressing the Activation button activates the cert. A confirmation window will pop up with two options:
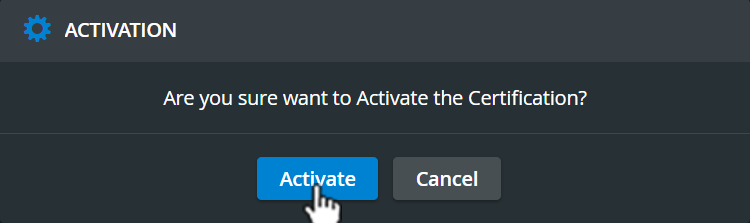
If you press the Activate button, the validation/activation process will be started:

By pressing the Cancel button, you cancel the process.
Once the cert has been successfully activated, a completed component will appear stating that you have successfully validated and activated your certificate.
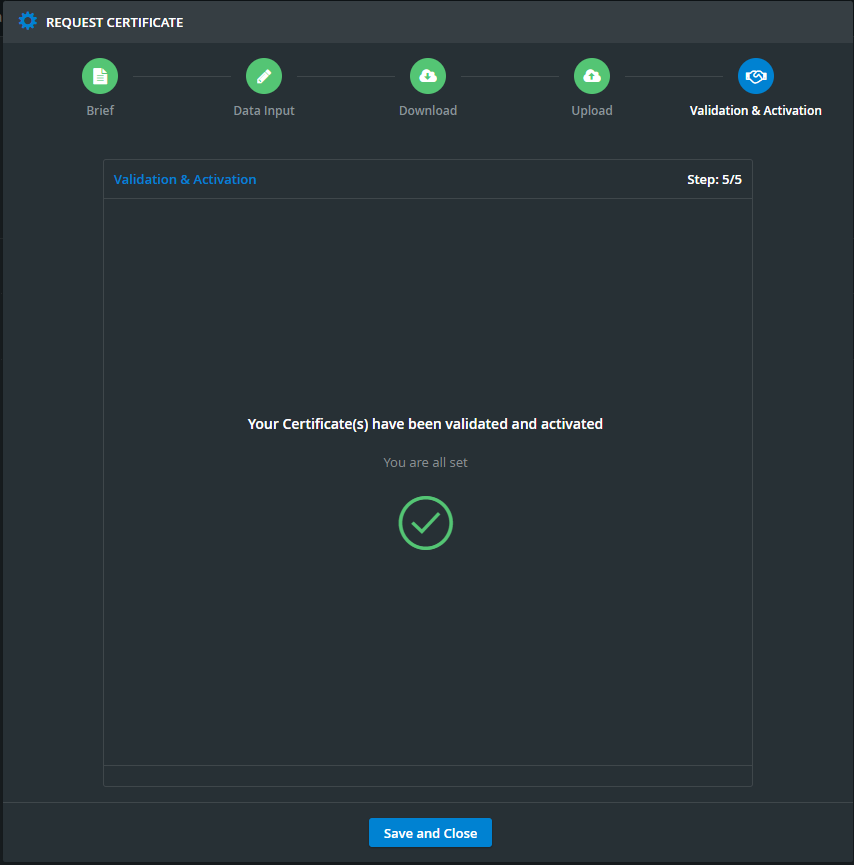
If certification validation and activation fail, restart the process or contact the Support team.
The Save and Close button closes the confirmation window.
Upload Certificate
The second option under 'SSL/HTTPS SECURE ACCESS SETUP' is the Upload Certificate button, where an already existing certificate can be uploaded in 3 steps.
Upload Signed Certificate (same procedure as the Request Certificate upload step)
Upload Key - The key can be uploaded and matched
Activation (same procedure as the Request Certificate activation step but has an extra check, which is the uploaded key)
Self-signed certificates are currently not supported in LearningSpace. The notification message below warns you in case you try to upload this type of certificate. Read more about Self-signed certificates below*.
Upload Signed Certificate
As the first step here, press the Upload button and select the certificate file to be uploaded:
Hover over the icon to get more information.

A validation process will start along with the upload:
If a certification upload is invalid, the certificate can be deleted using the dustbin icon. If validation fails repeatedly, the whole process should be terminated and restarted.
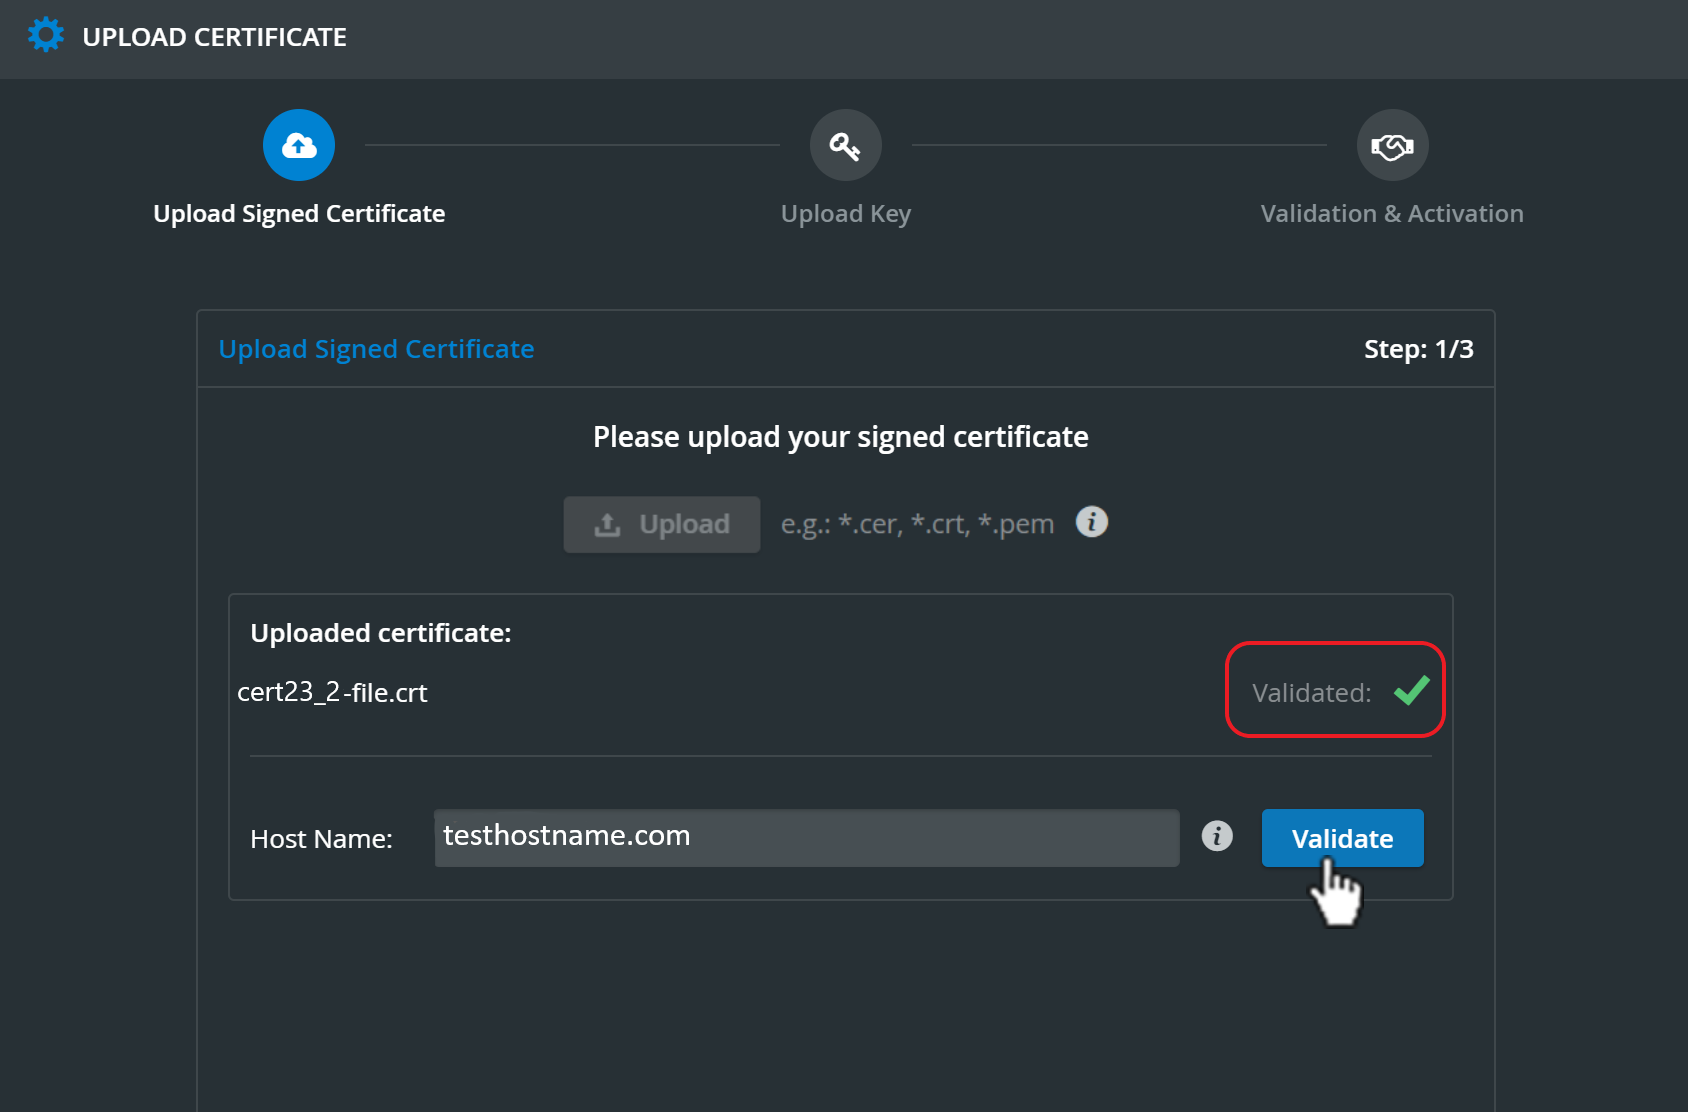
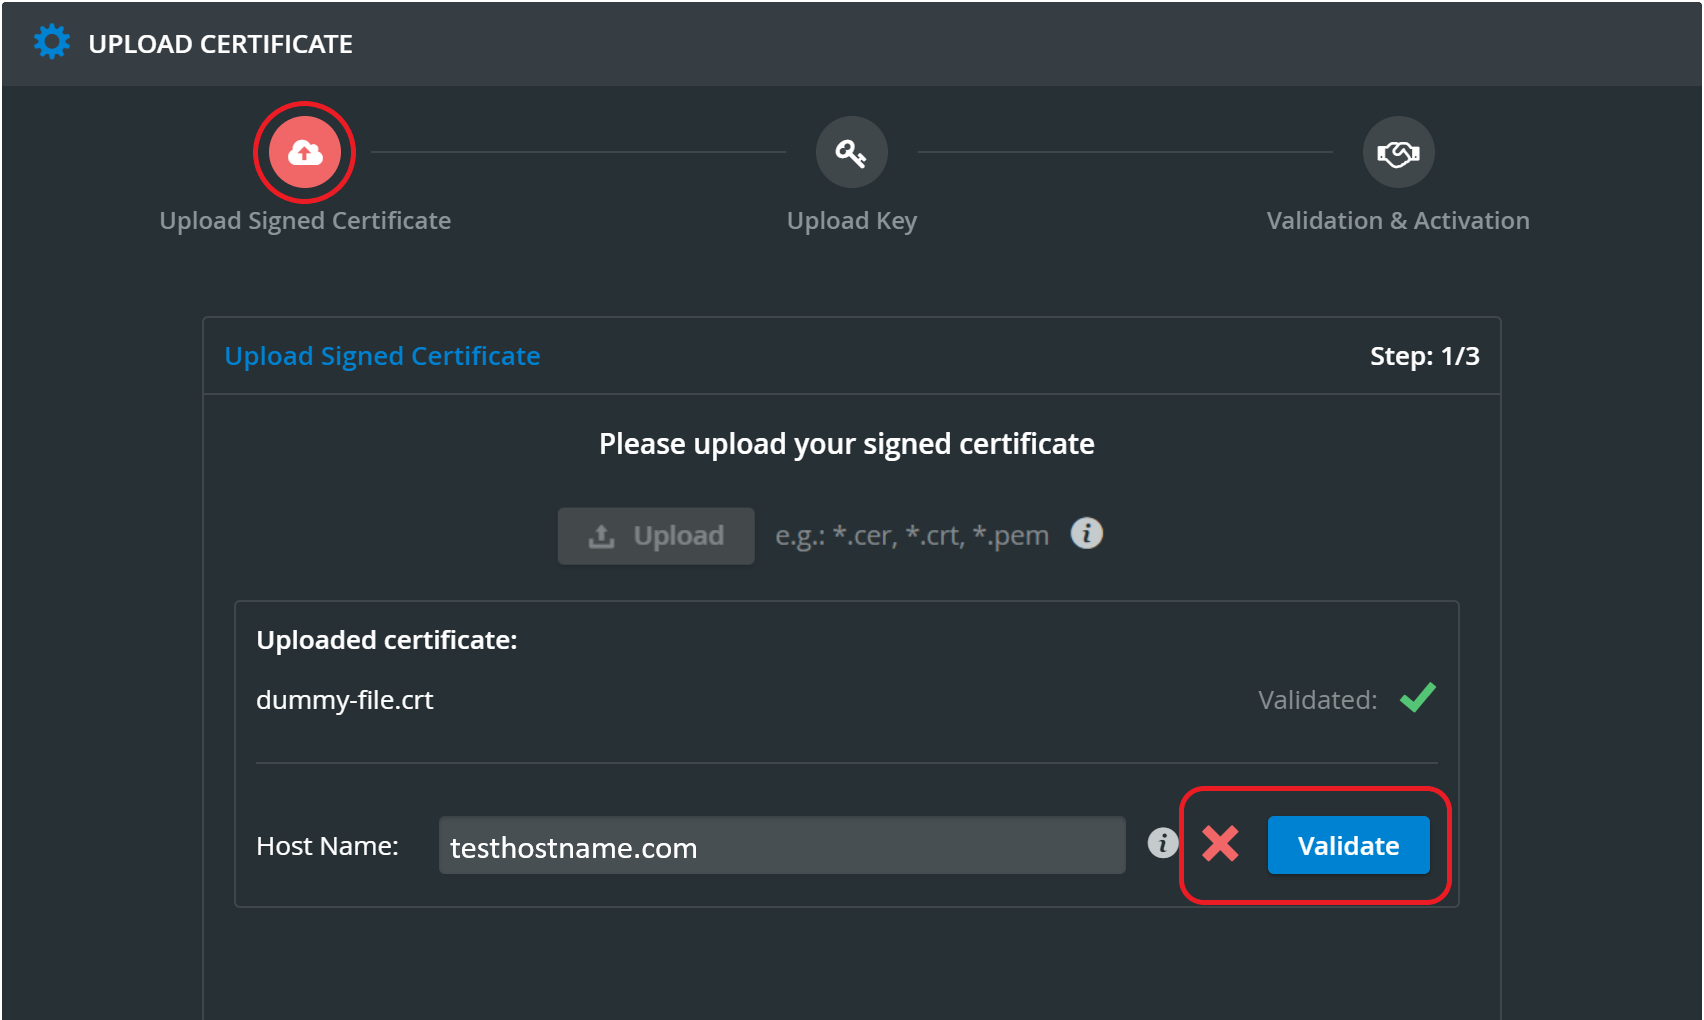
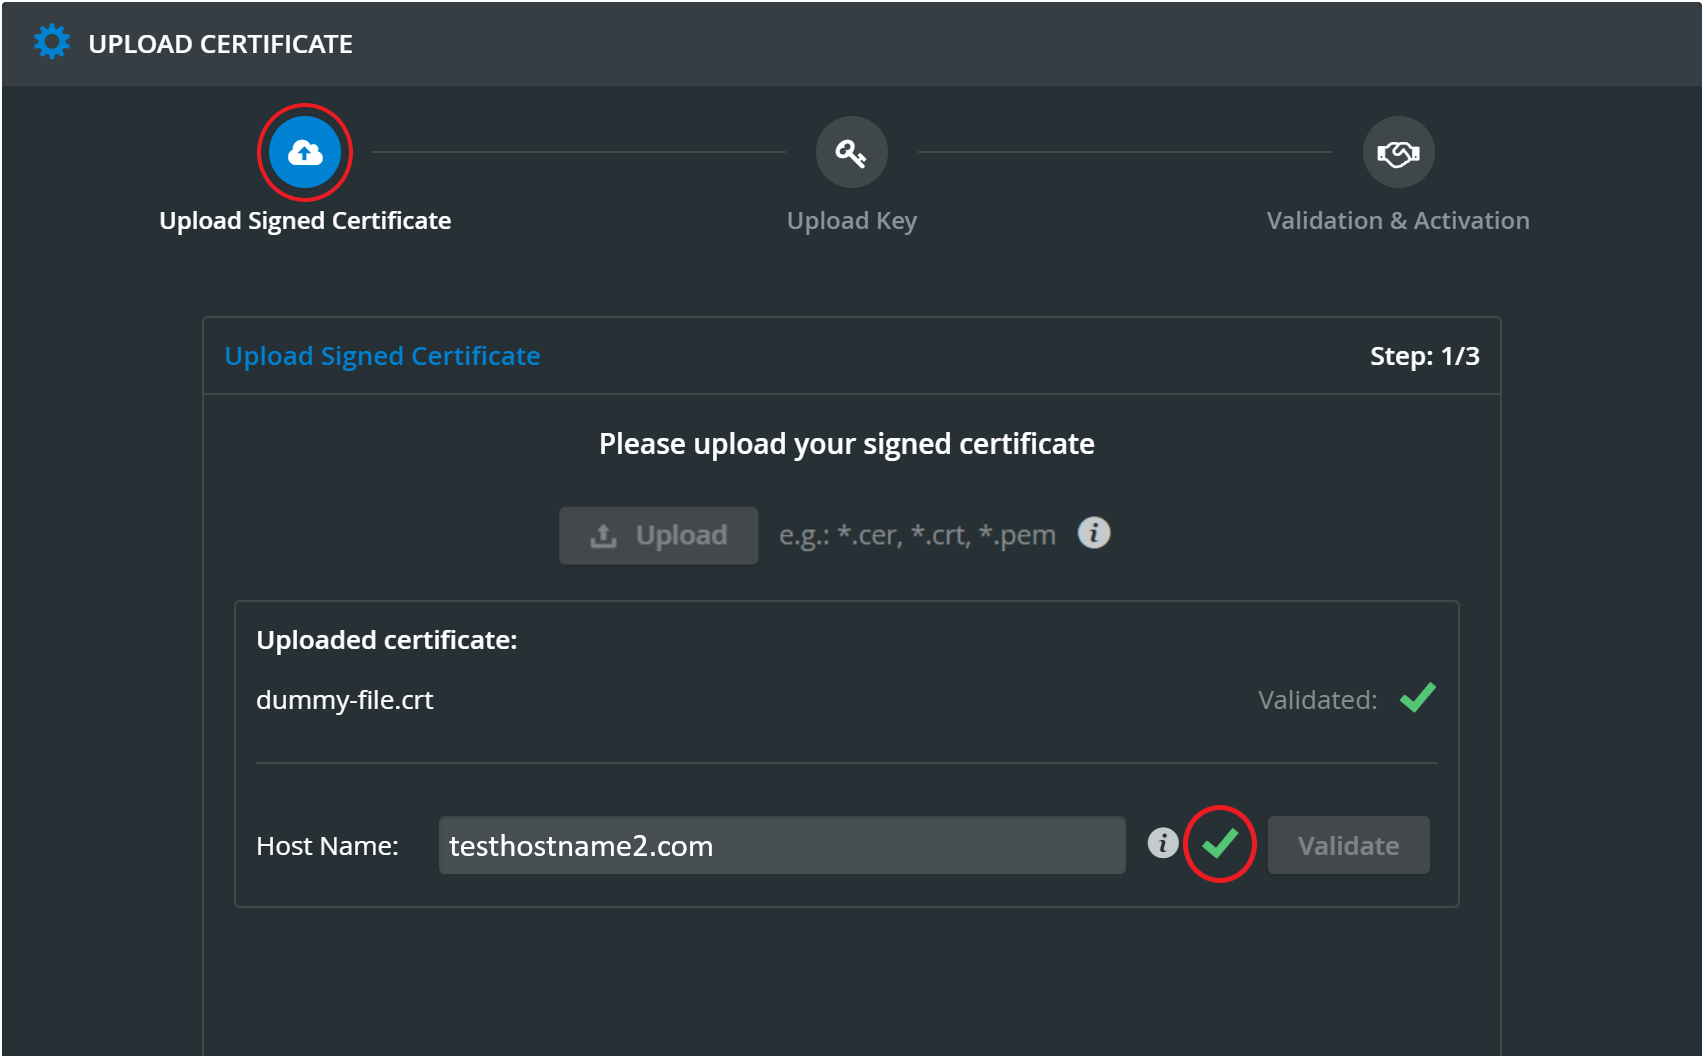
Once the certificate has been validated, enter the Host Name and hit the Validate button:
Validating certificate’s hostname:

The uploaded certificate’s hostname is invalid:
The uploaded certificate’s hostname is valid:
Upload Key
The option to upload the key for your certificate, which must correspond to certain things:
The file extension can be or .key or .pem
The file size cannot be larger than 1MB
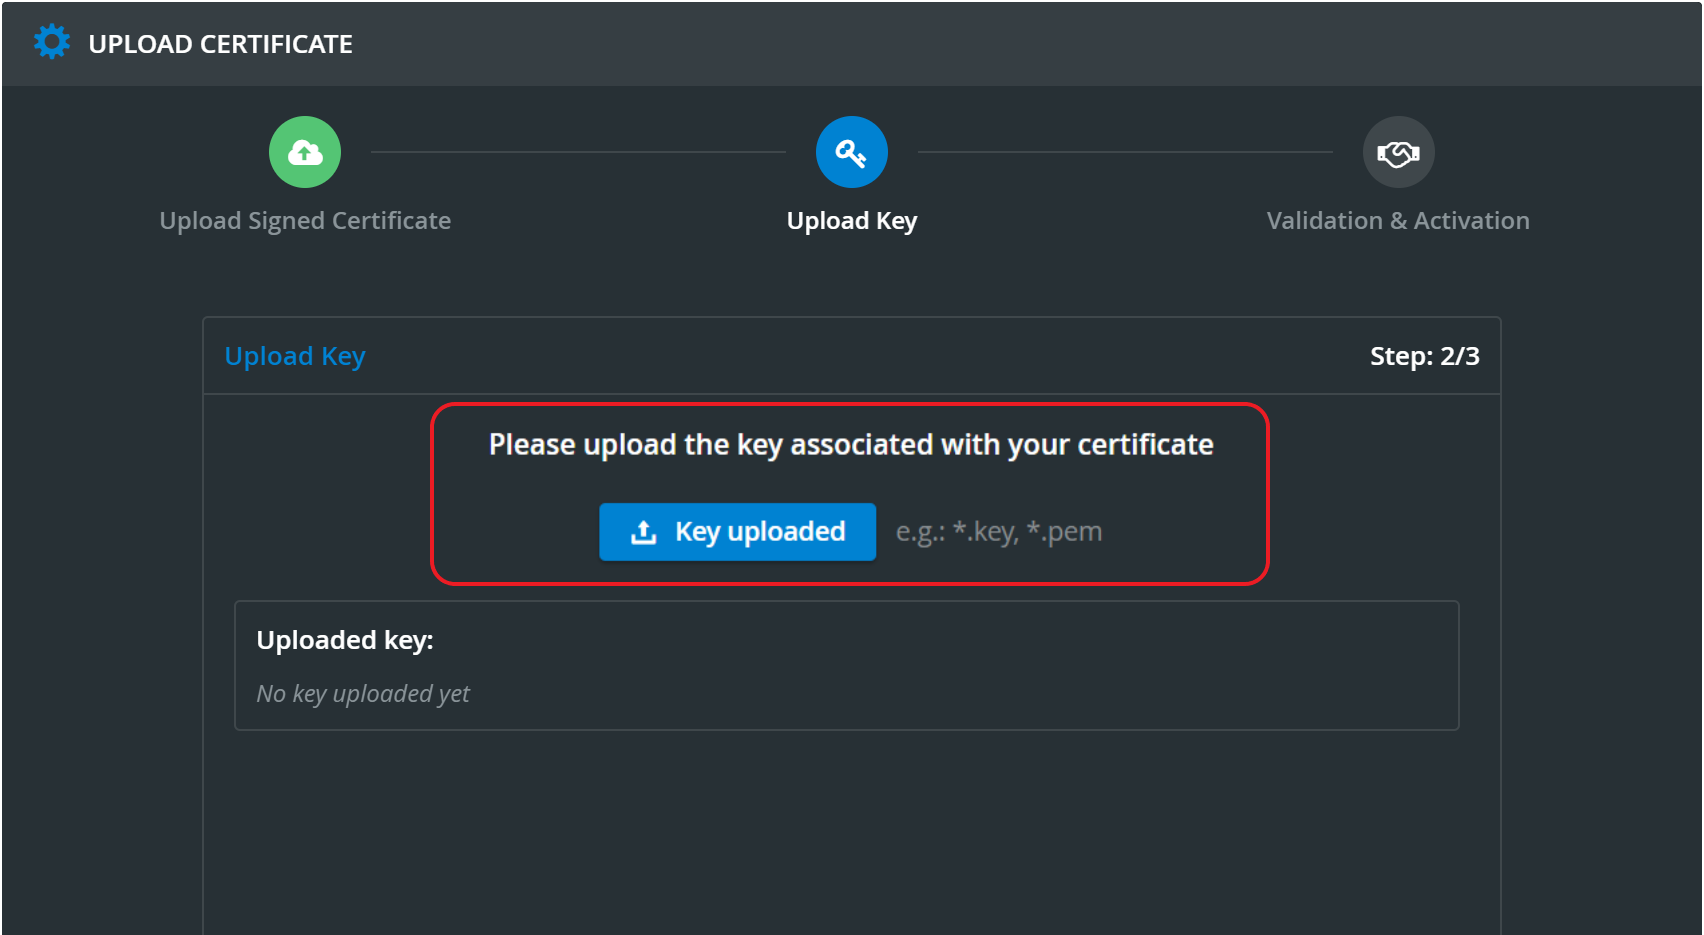
The upload button gets inactive after the file upload is successful.
In the background, meanwhile, a validation process ('Matching') is taking place.

If the uploaded key is correct, it will be displayed as 'Matched'.

In case of an Unmatched key upload, the key can be deleted using the dustbin icon.

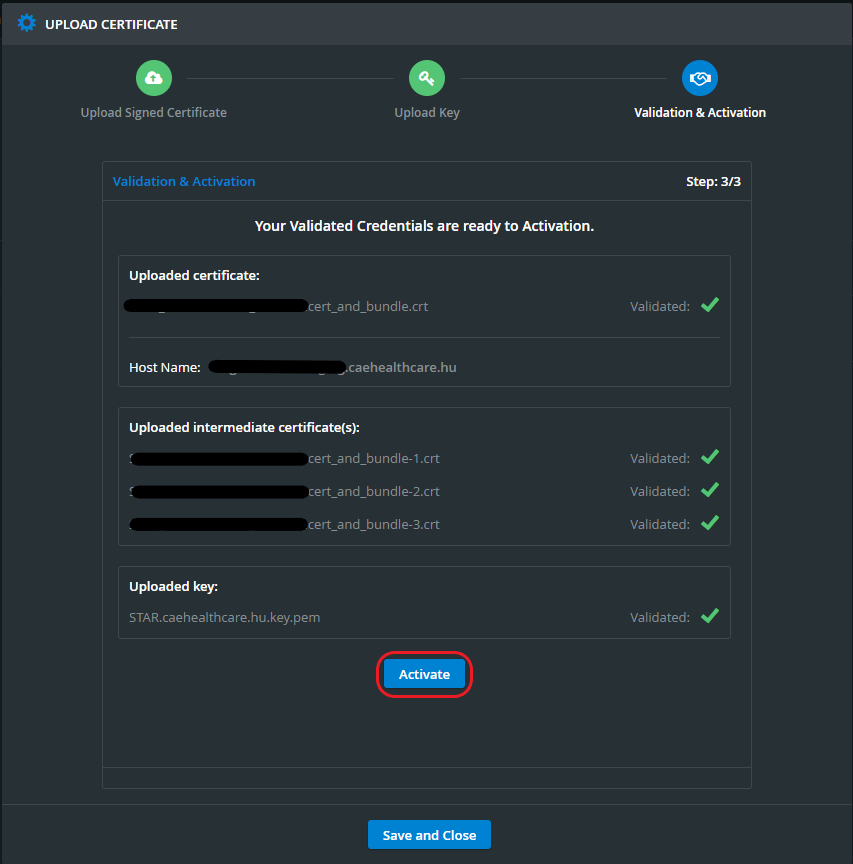
Activation
This component looks the same as when Requesting a certificate; the only difference is that it has an extra section for uploading the key.
In case of a failed activation, the following error message is displayed:
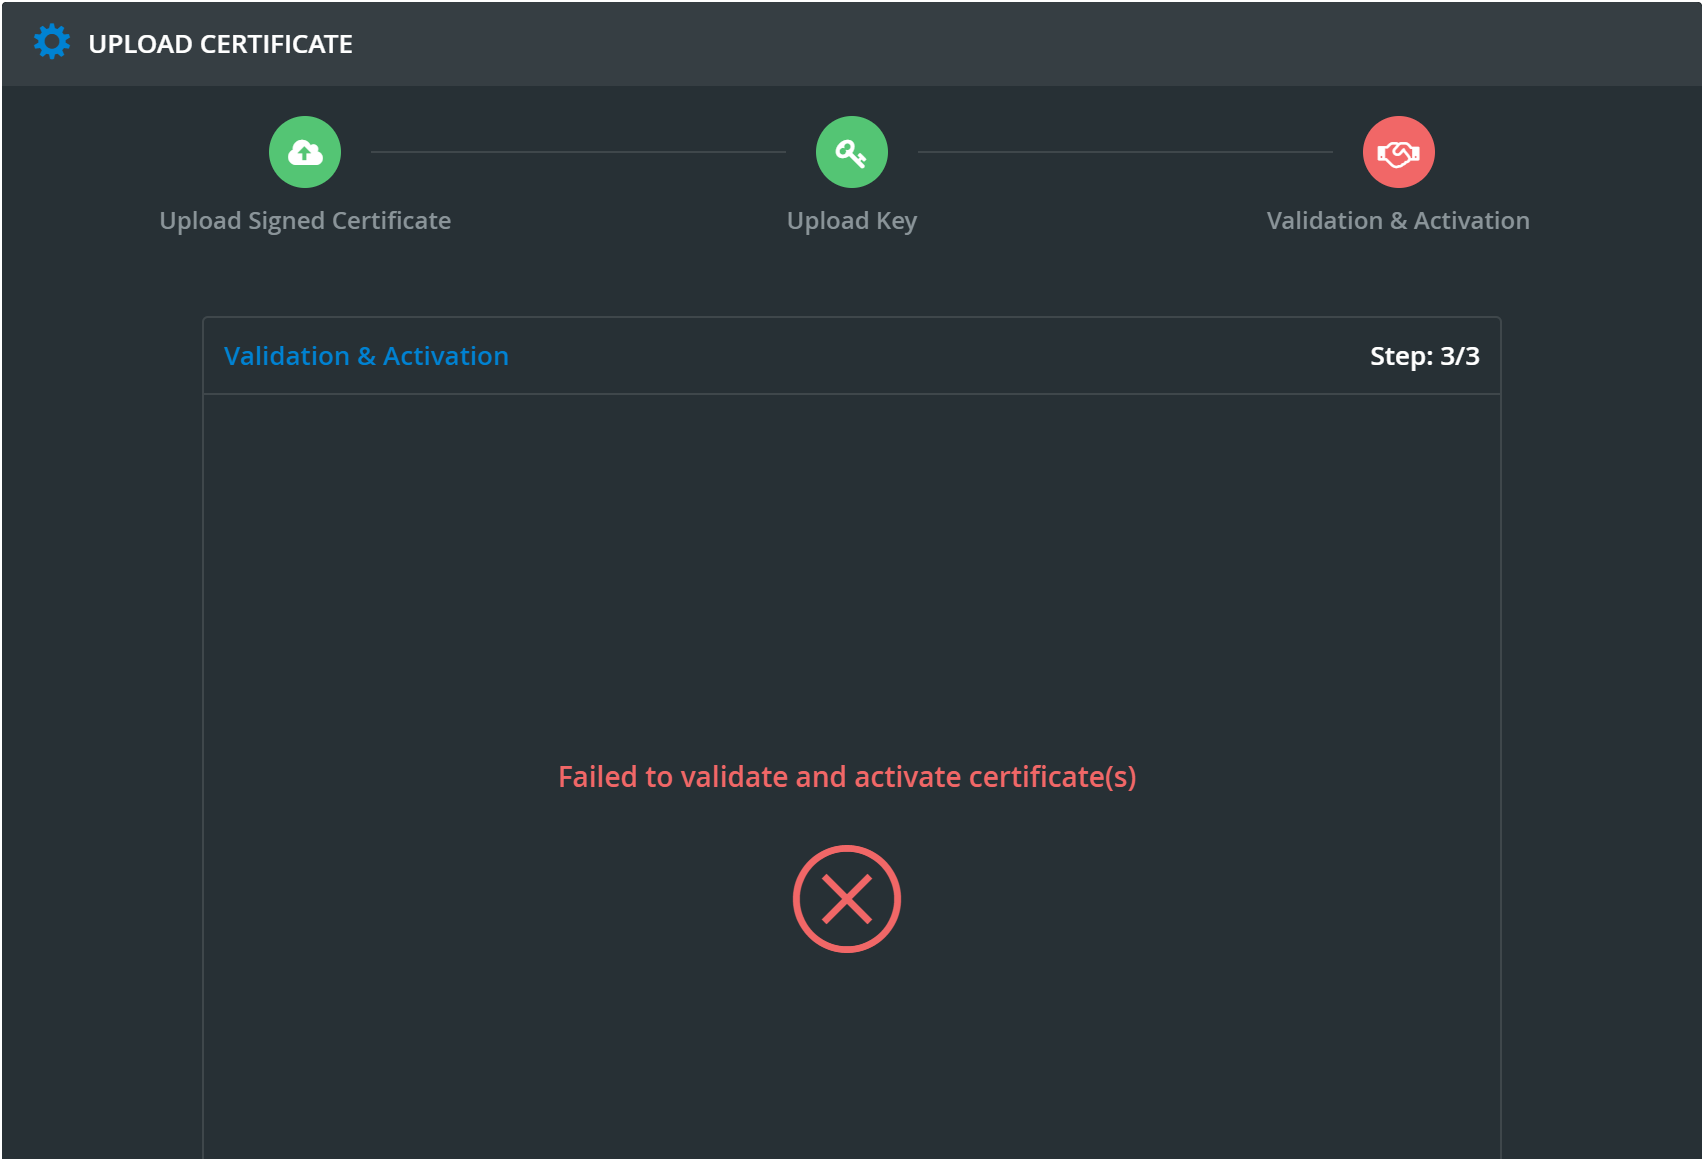
If certification validation and activation fail, restart the process or contact the Support team.
Once the cert has successfully been activated, the following message appears in the pop-up:
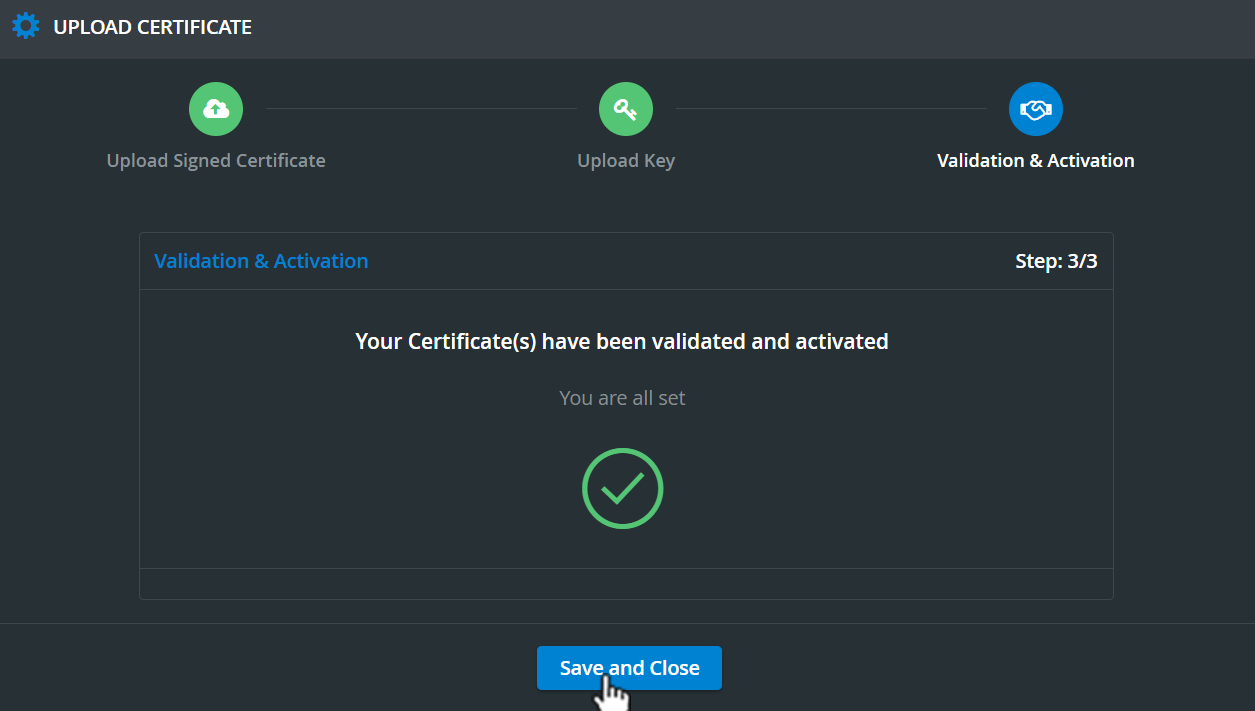
The process has successfully been completed. Press the Save and Close button.
Additional Components
Status Table
The table under 'SSL/HTTPS SECURE ACCESS SETUP': Certificate Information contains all certificate data.
Continue / Terminate Process Button
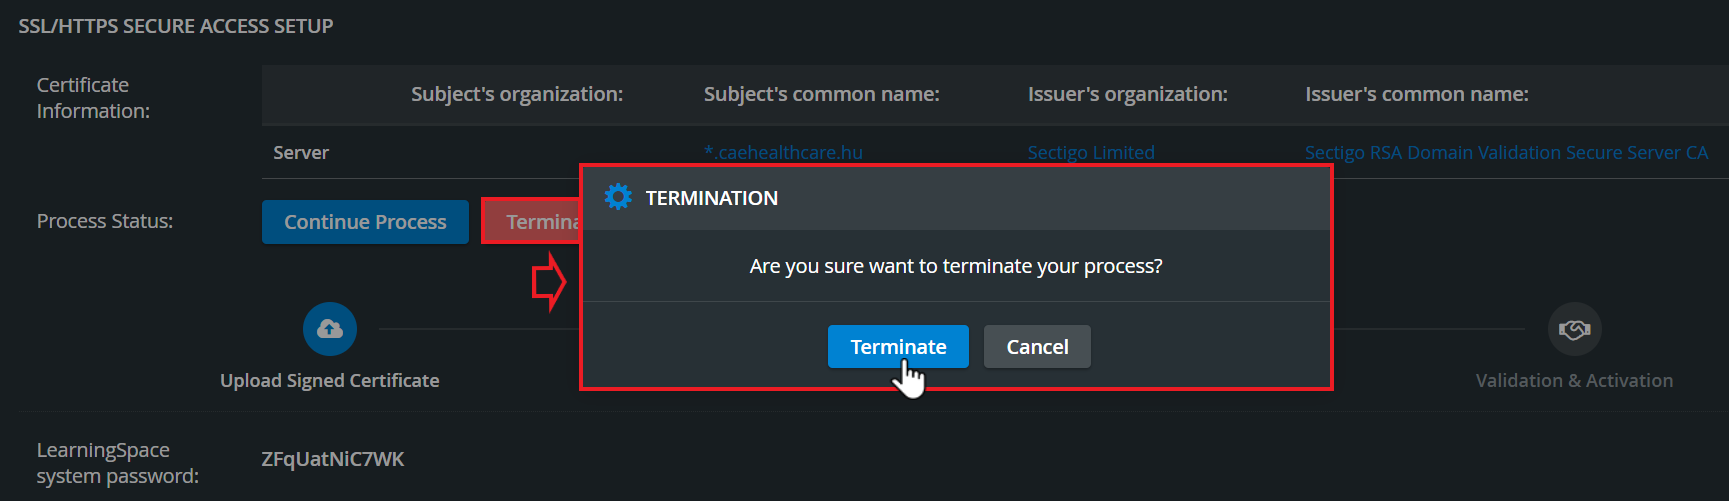
The above-described process can be terminated at any point by clicking the Terminate Process button (after closing the pop-up with Save and Close).
When interrupted or paused, the process can be continued with the Continue Process button.
Confirm termination:
After HTTPS is properly configured for your LearningSpace system, the above multi-step wizard process can be re-initiated at any time (e.g., when the certificate expires).
Restarting the process does not affect the existing HTTPS config or disrupt day-to-day work in LearningSpace.
If you see the message below, you cannot upload or request a certificate since several servers are connected to your LearningSpace system. Please turn to your System Administrator or the Support team.

Certificate Expiration Date
The certification expiration date is displayed in the ‘Expires on’ column.

About Self-signed certificates*
When using self-signed certificates on client computers, the clients will not trust the certificate by default as it is not issued by a trusted Certificate Authority (CA). Therefore, clients typically see security warnings or errors when accessing a website or service that uses a self-signed certificate.
To avoid these warnings and errors, clients can manually trust the self-signed certificate by importing it into their trusted root certificate store. This process varies depending on the operating system and browser being used.
It is important to note that while self-signed certificates can provide encryption for network traffic, they do not provide the same level of assurance as certificates issued by trusted CAs. Self-signed certificates can be easily created by anyone and do not go through the rigorous validation processes that trusted CA certificates go through.
Learn more on our System Module pages.