Single Room View Layout Settings - Legacy version
Manage layout
a. Users can change the layout of the Single Room View (SRV) for themselves with the help of the Window layout settings pop-up window.
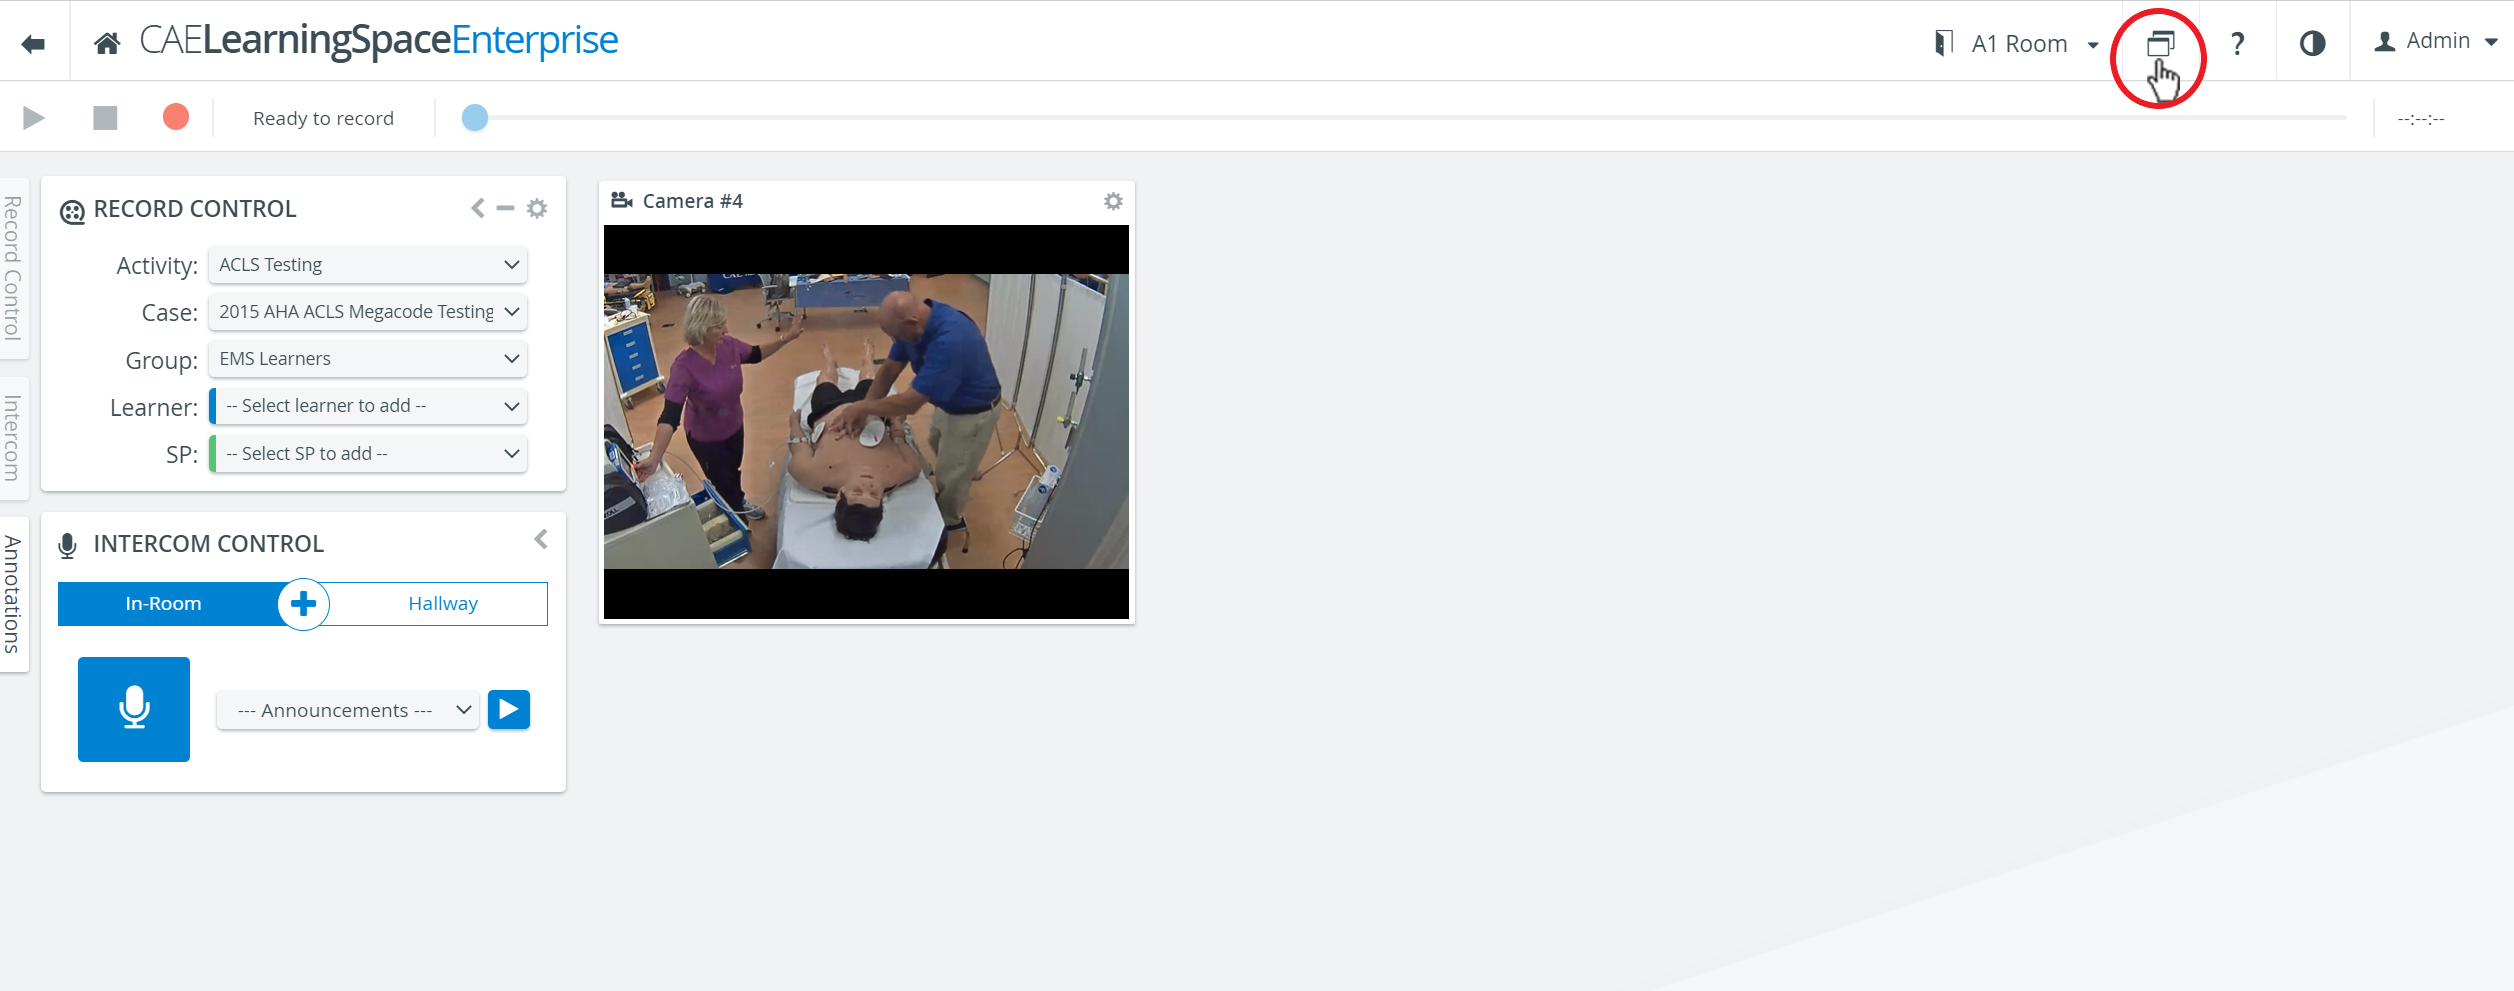
Changes made by a user to the Window layout settings are visible only in the user's profile.
Click on the

Switch on or off pictograms to display or hide the panels or cameras they represent:
 = Record control panel
 = Intercom panel


 = Camera

b. To save a layout for later, click Advanced settings.
A new pop-up opens, containing further layout options.
Pick the panels you would like to display.
Tick the checkbox to enable the Annotations panel to launch when recording starts.
Select cameras if more than one is added to the room.
Click on pictograms to select a feature. A feature is selected if a pictogram is colored. A grayed-out pictogram means the feature will not be included in the layout.
Enter the name of your new layout in the Save layout field and click Save.
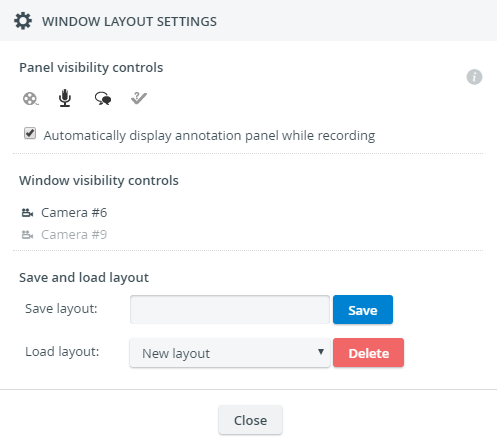
Select any of your saved SRV layouts from the Load layout drop-down.
The settings will be applied to your SRV right away.
You can always delete any layout.
Room Selection
In SRV, you can switch between available rooms without returning to the Center Overview (CO).
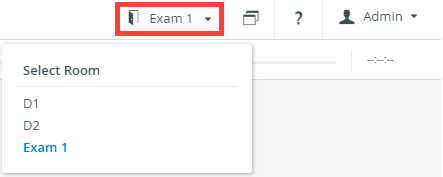
Locate the door pictogram in the upper right corner.
The current room name is also displayed.Hit the small arrow.
A drop-down appears with all of the rooms available for recording.Select a room.
You will enter the SRV of the chosen room.